
Help centreAssemblies
Add a joint between two components
A joint connects two components and says how one may move against the other — turn, slide, or not at all. Pick a face, a circular edge or a corner on each part, and the second part is brought onto the first.
-
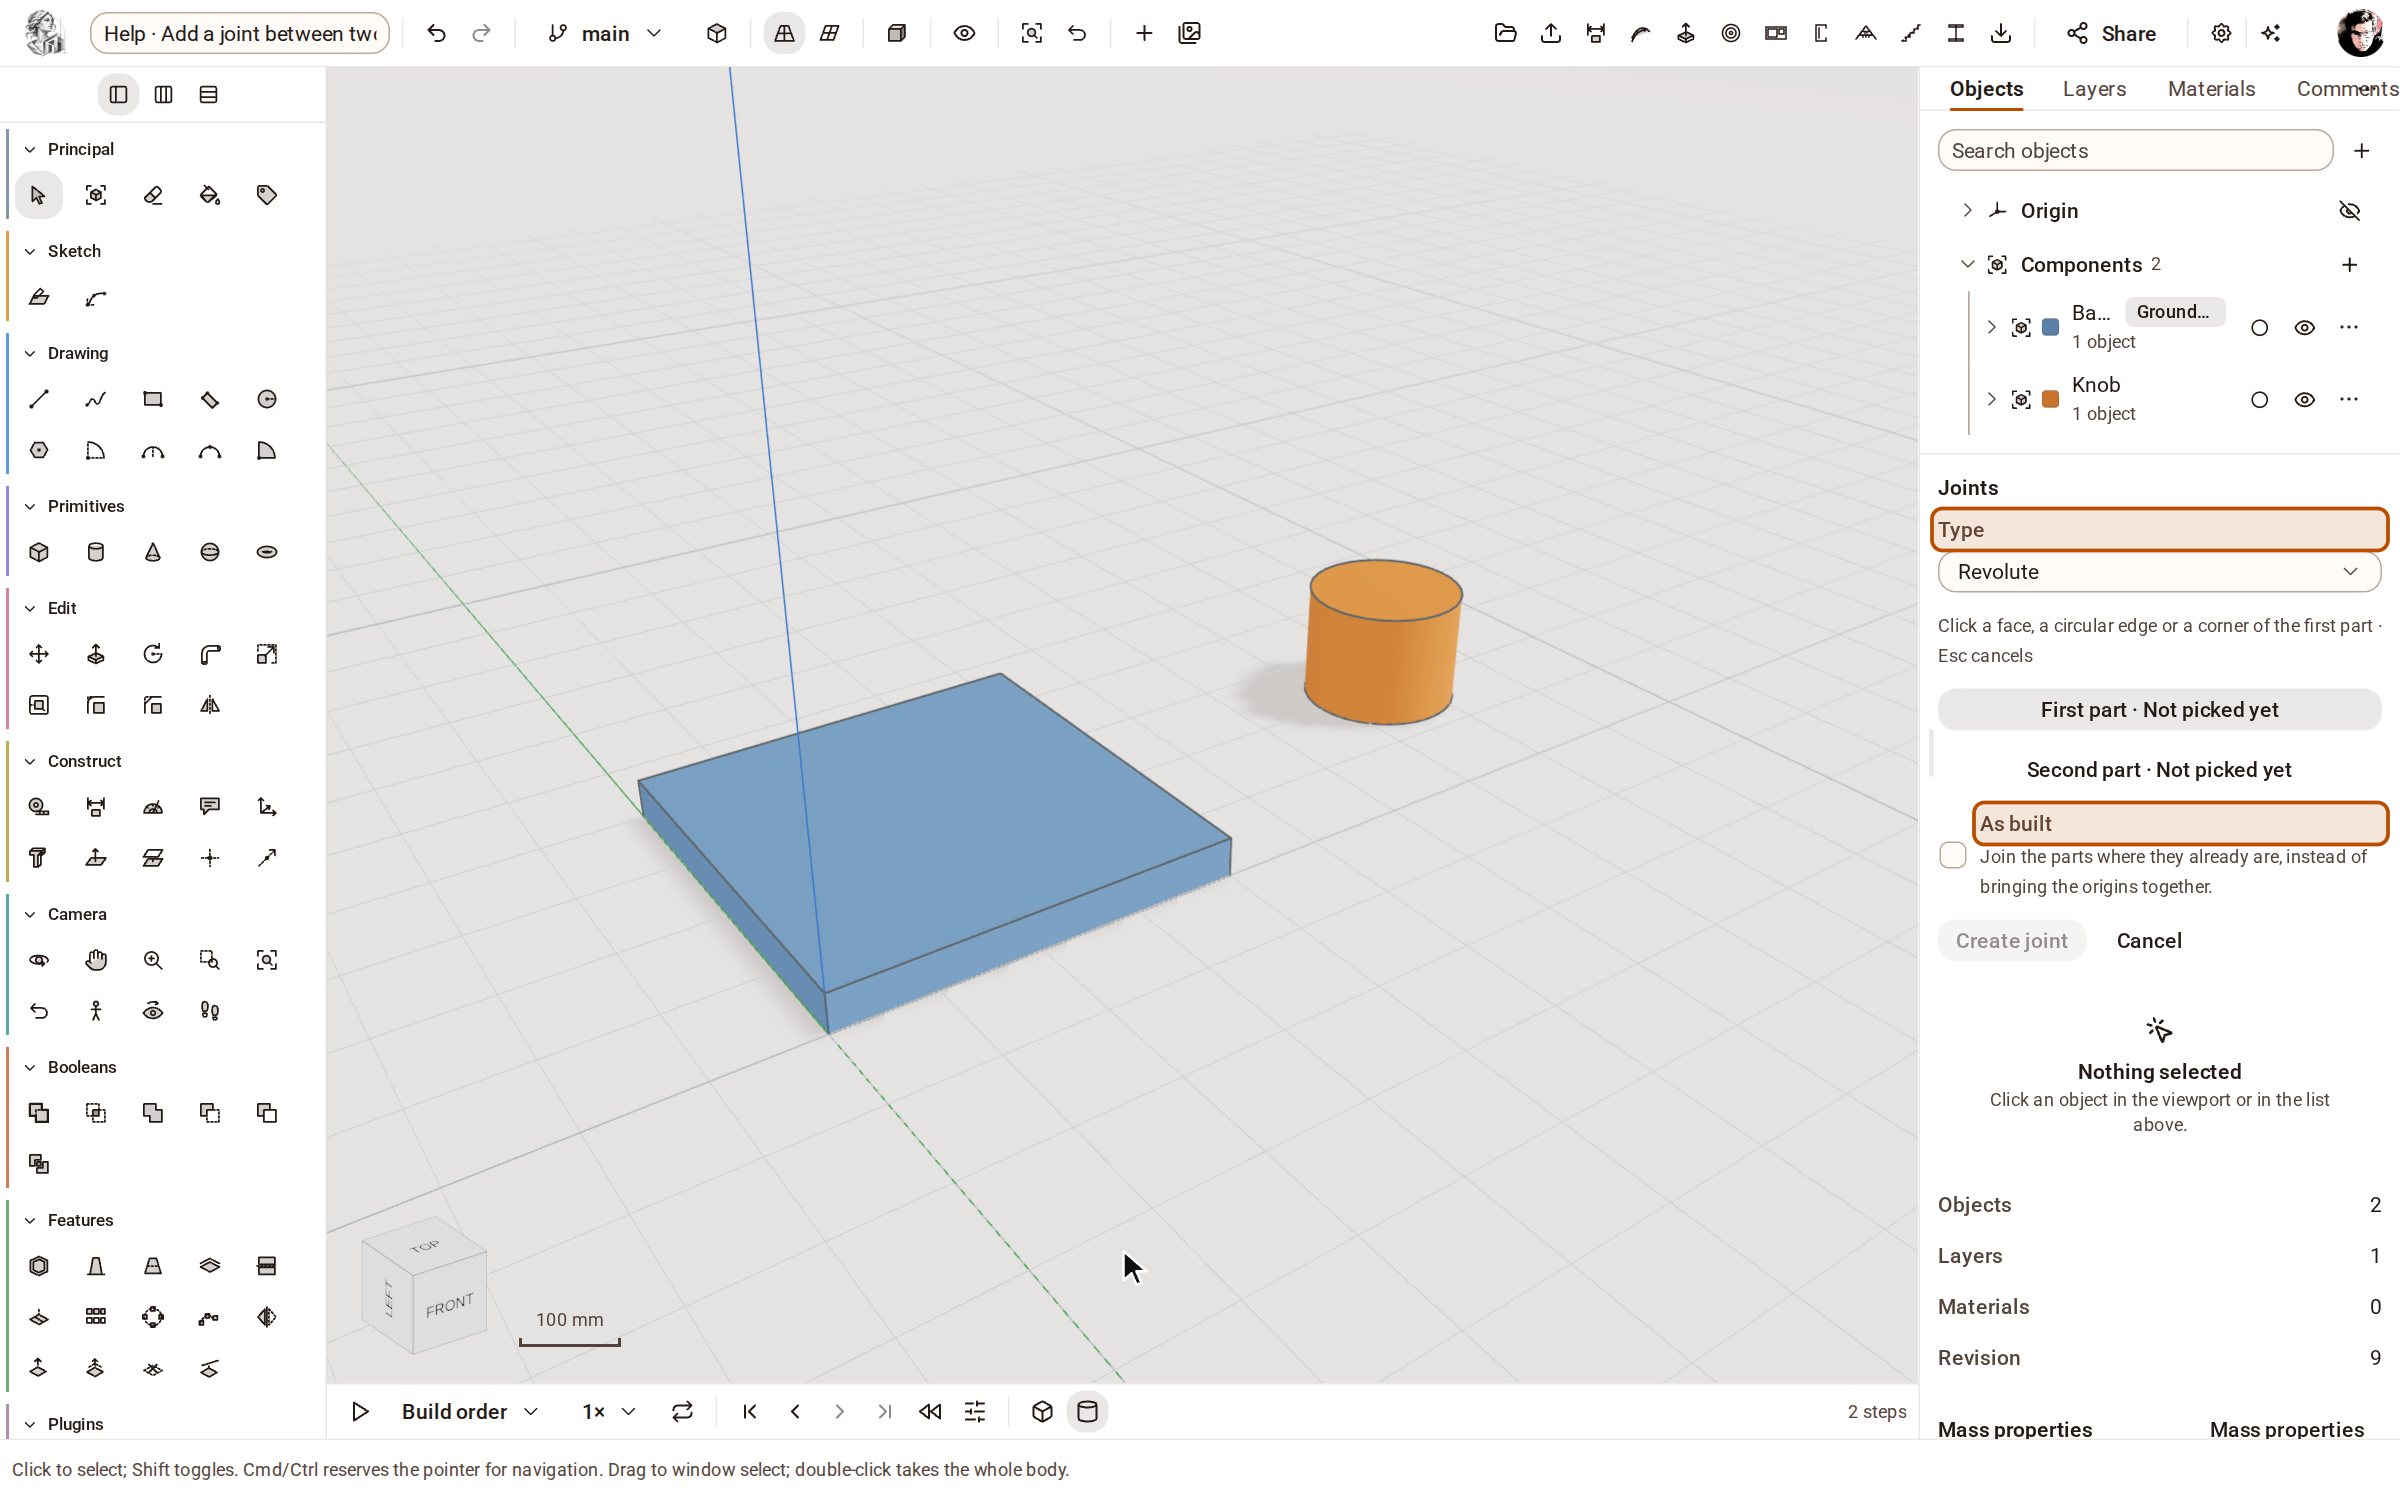
In the Objects panel, under Joints, click Add joint. The type is Revolute — a hinge that turns about the joint axis — and the panel asks for the first part. Untick As built, so the second part is brought onto the first.
-
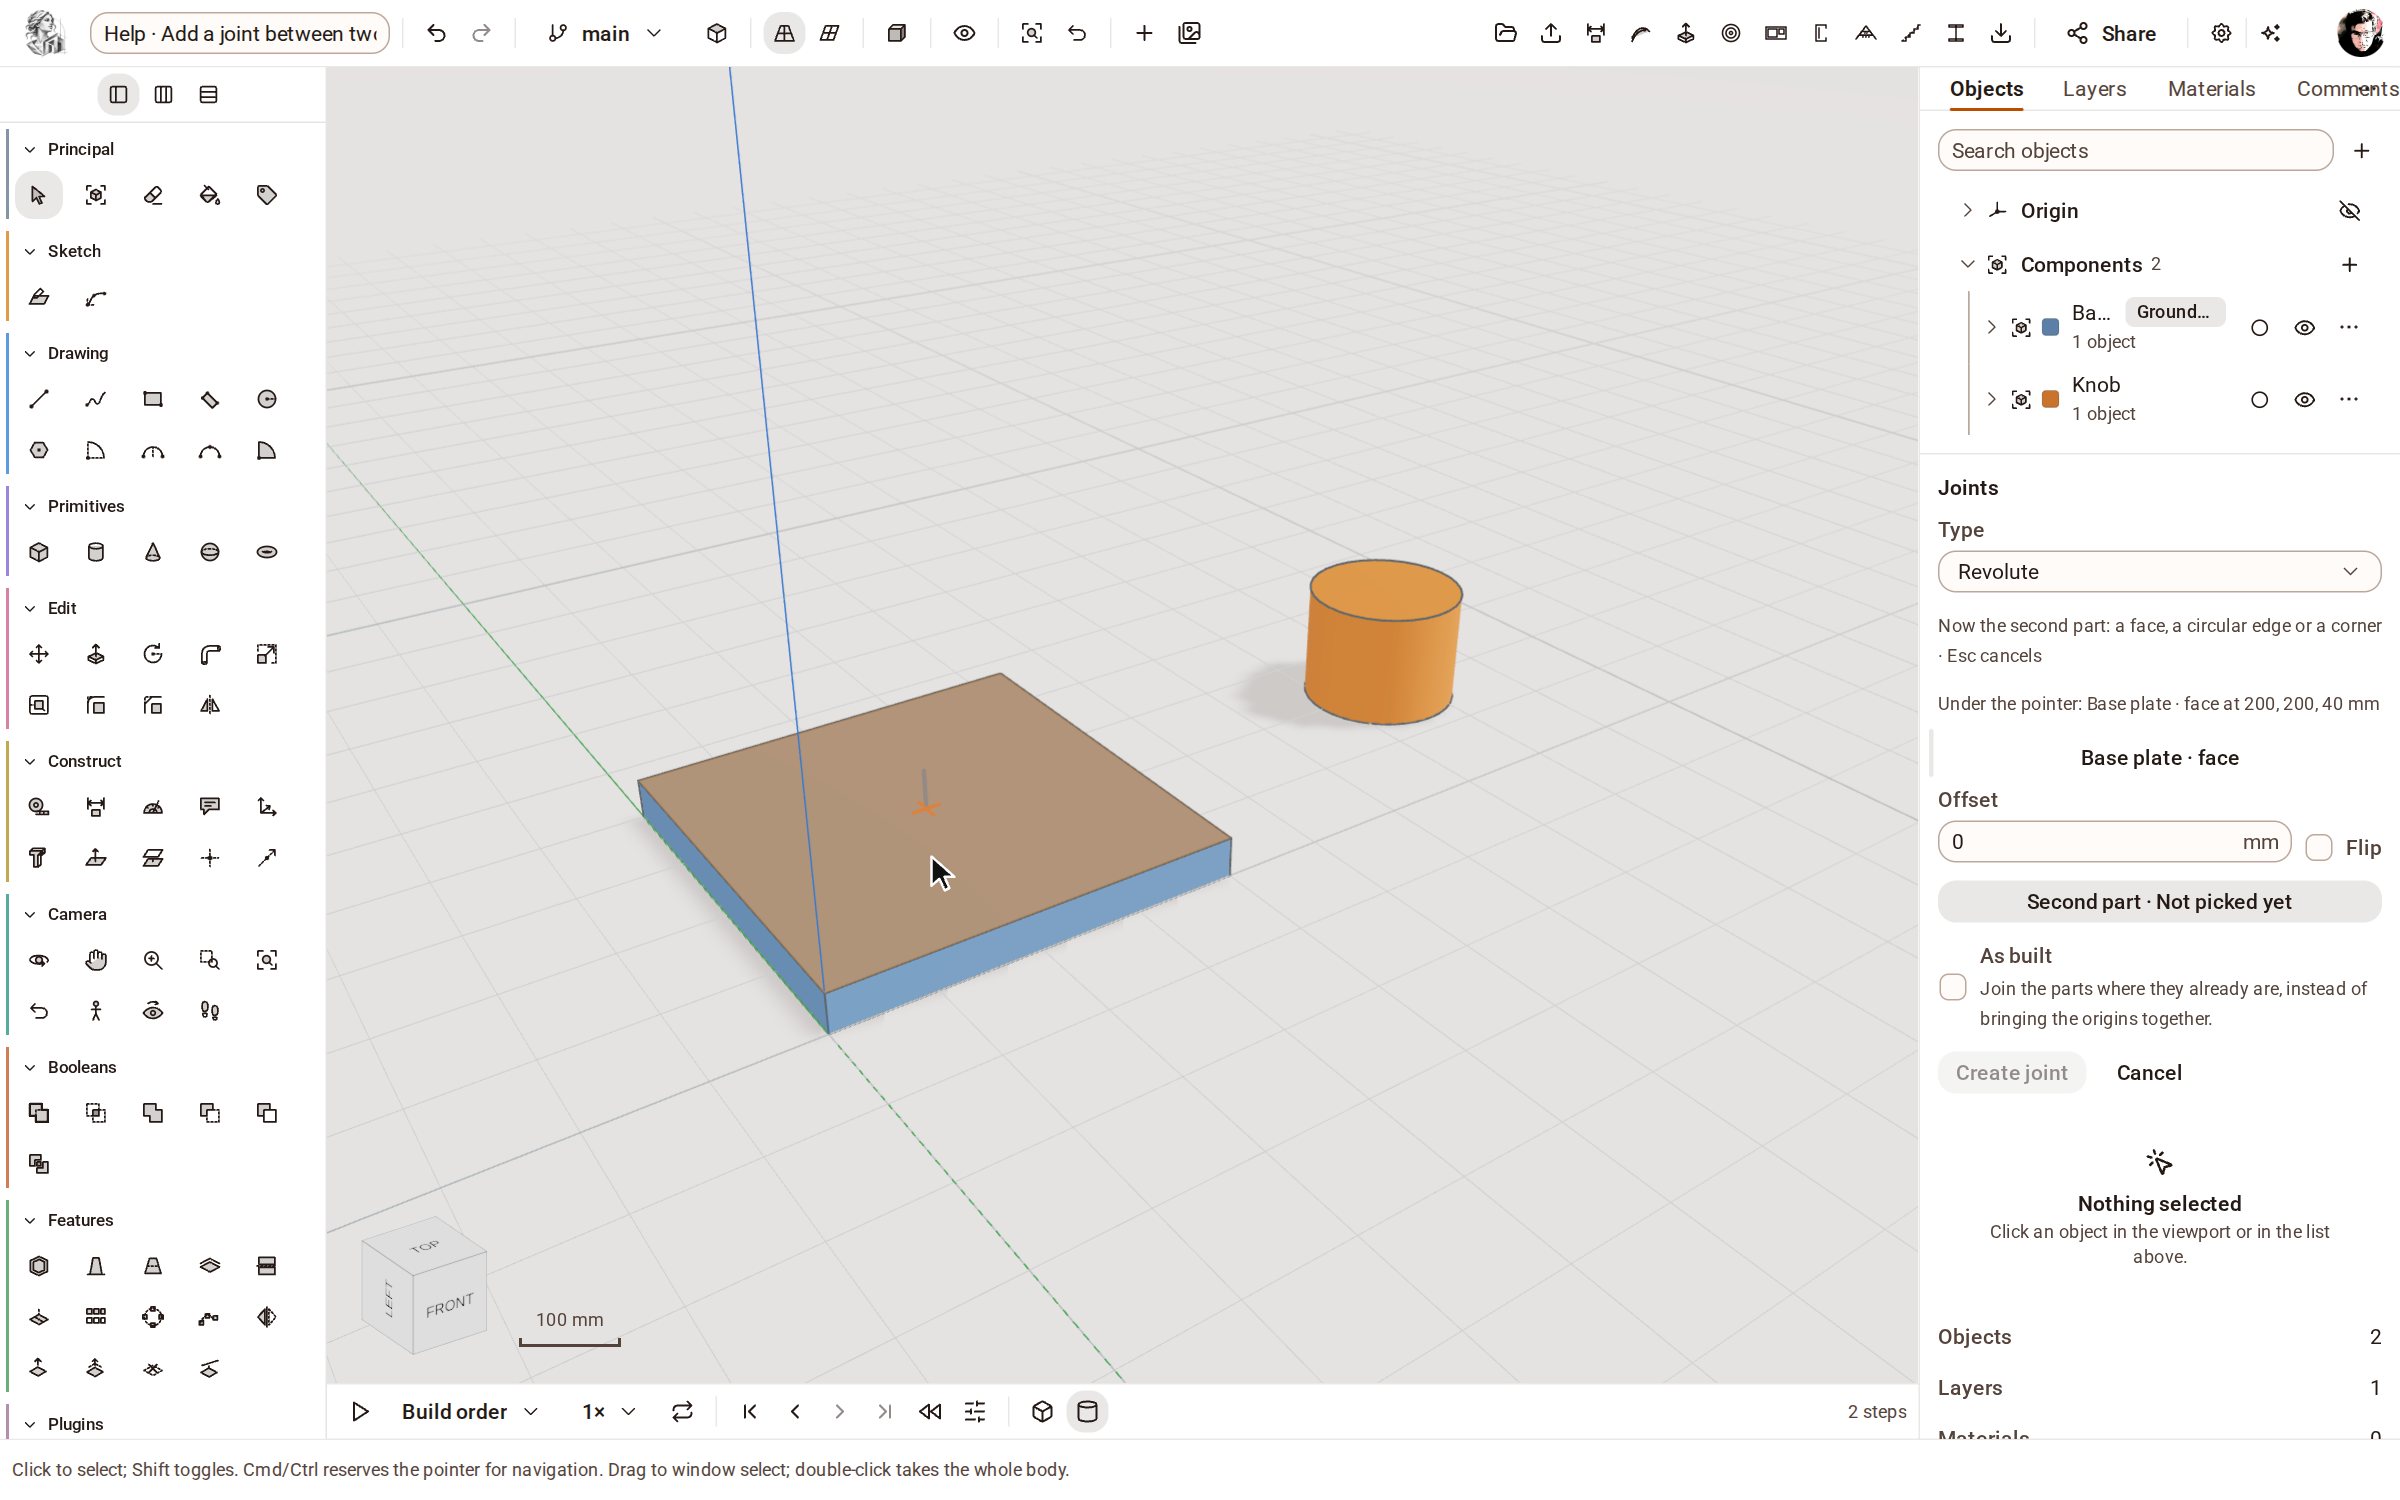
Click the top face of the base plate. Its centre becomes the first end of the joint.
-
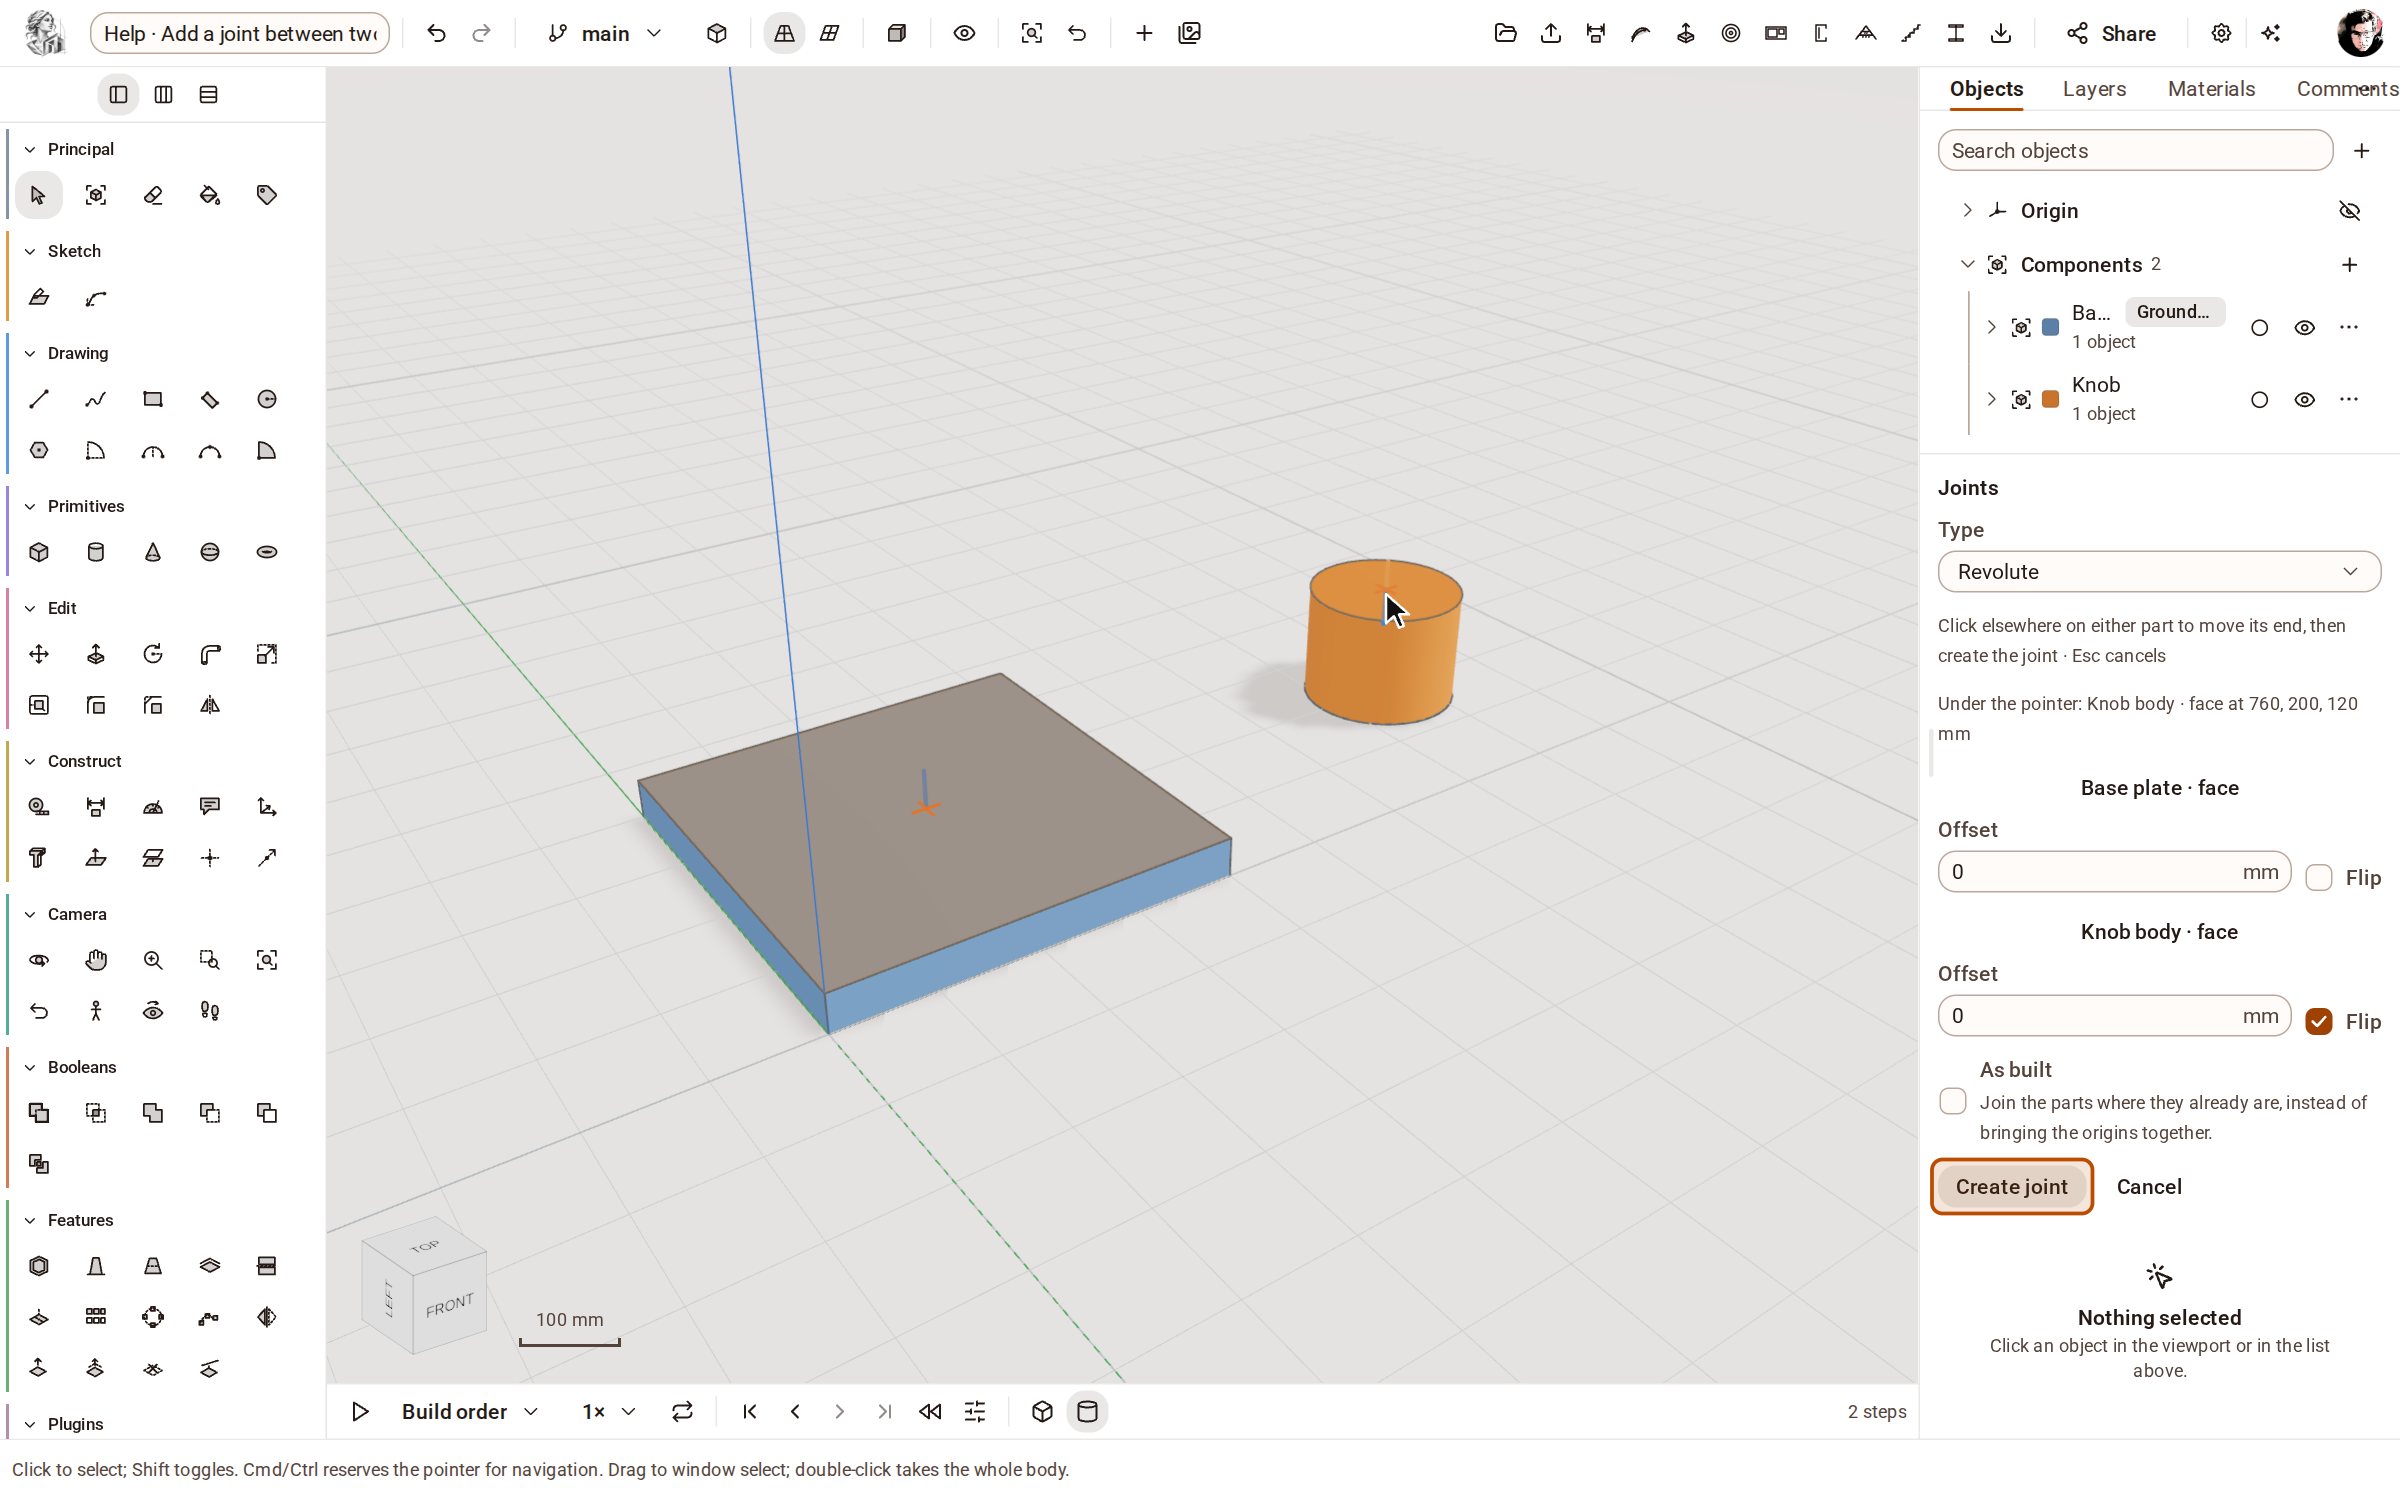
Click the top face of the knob for the second end. Its axis points the same way as the plate's, so tick Flip under Knob body · face: the knob will stand on the plate instead of sinking into it.
-
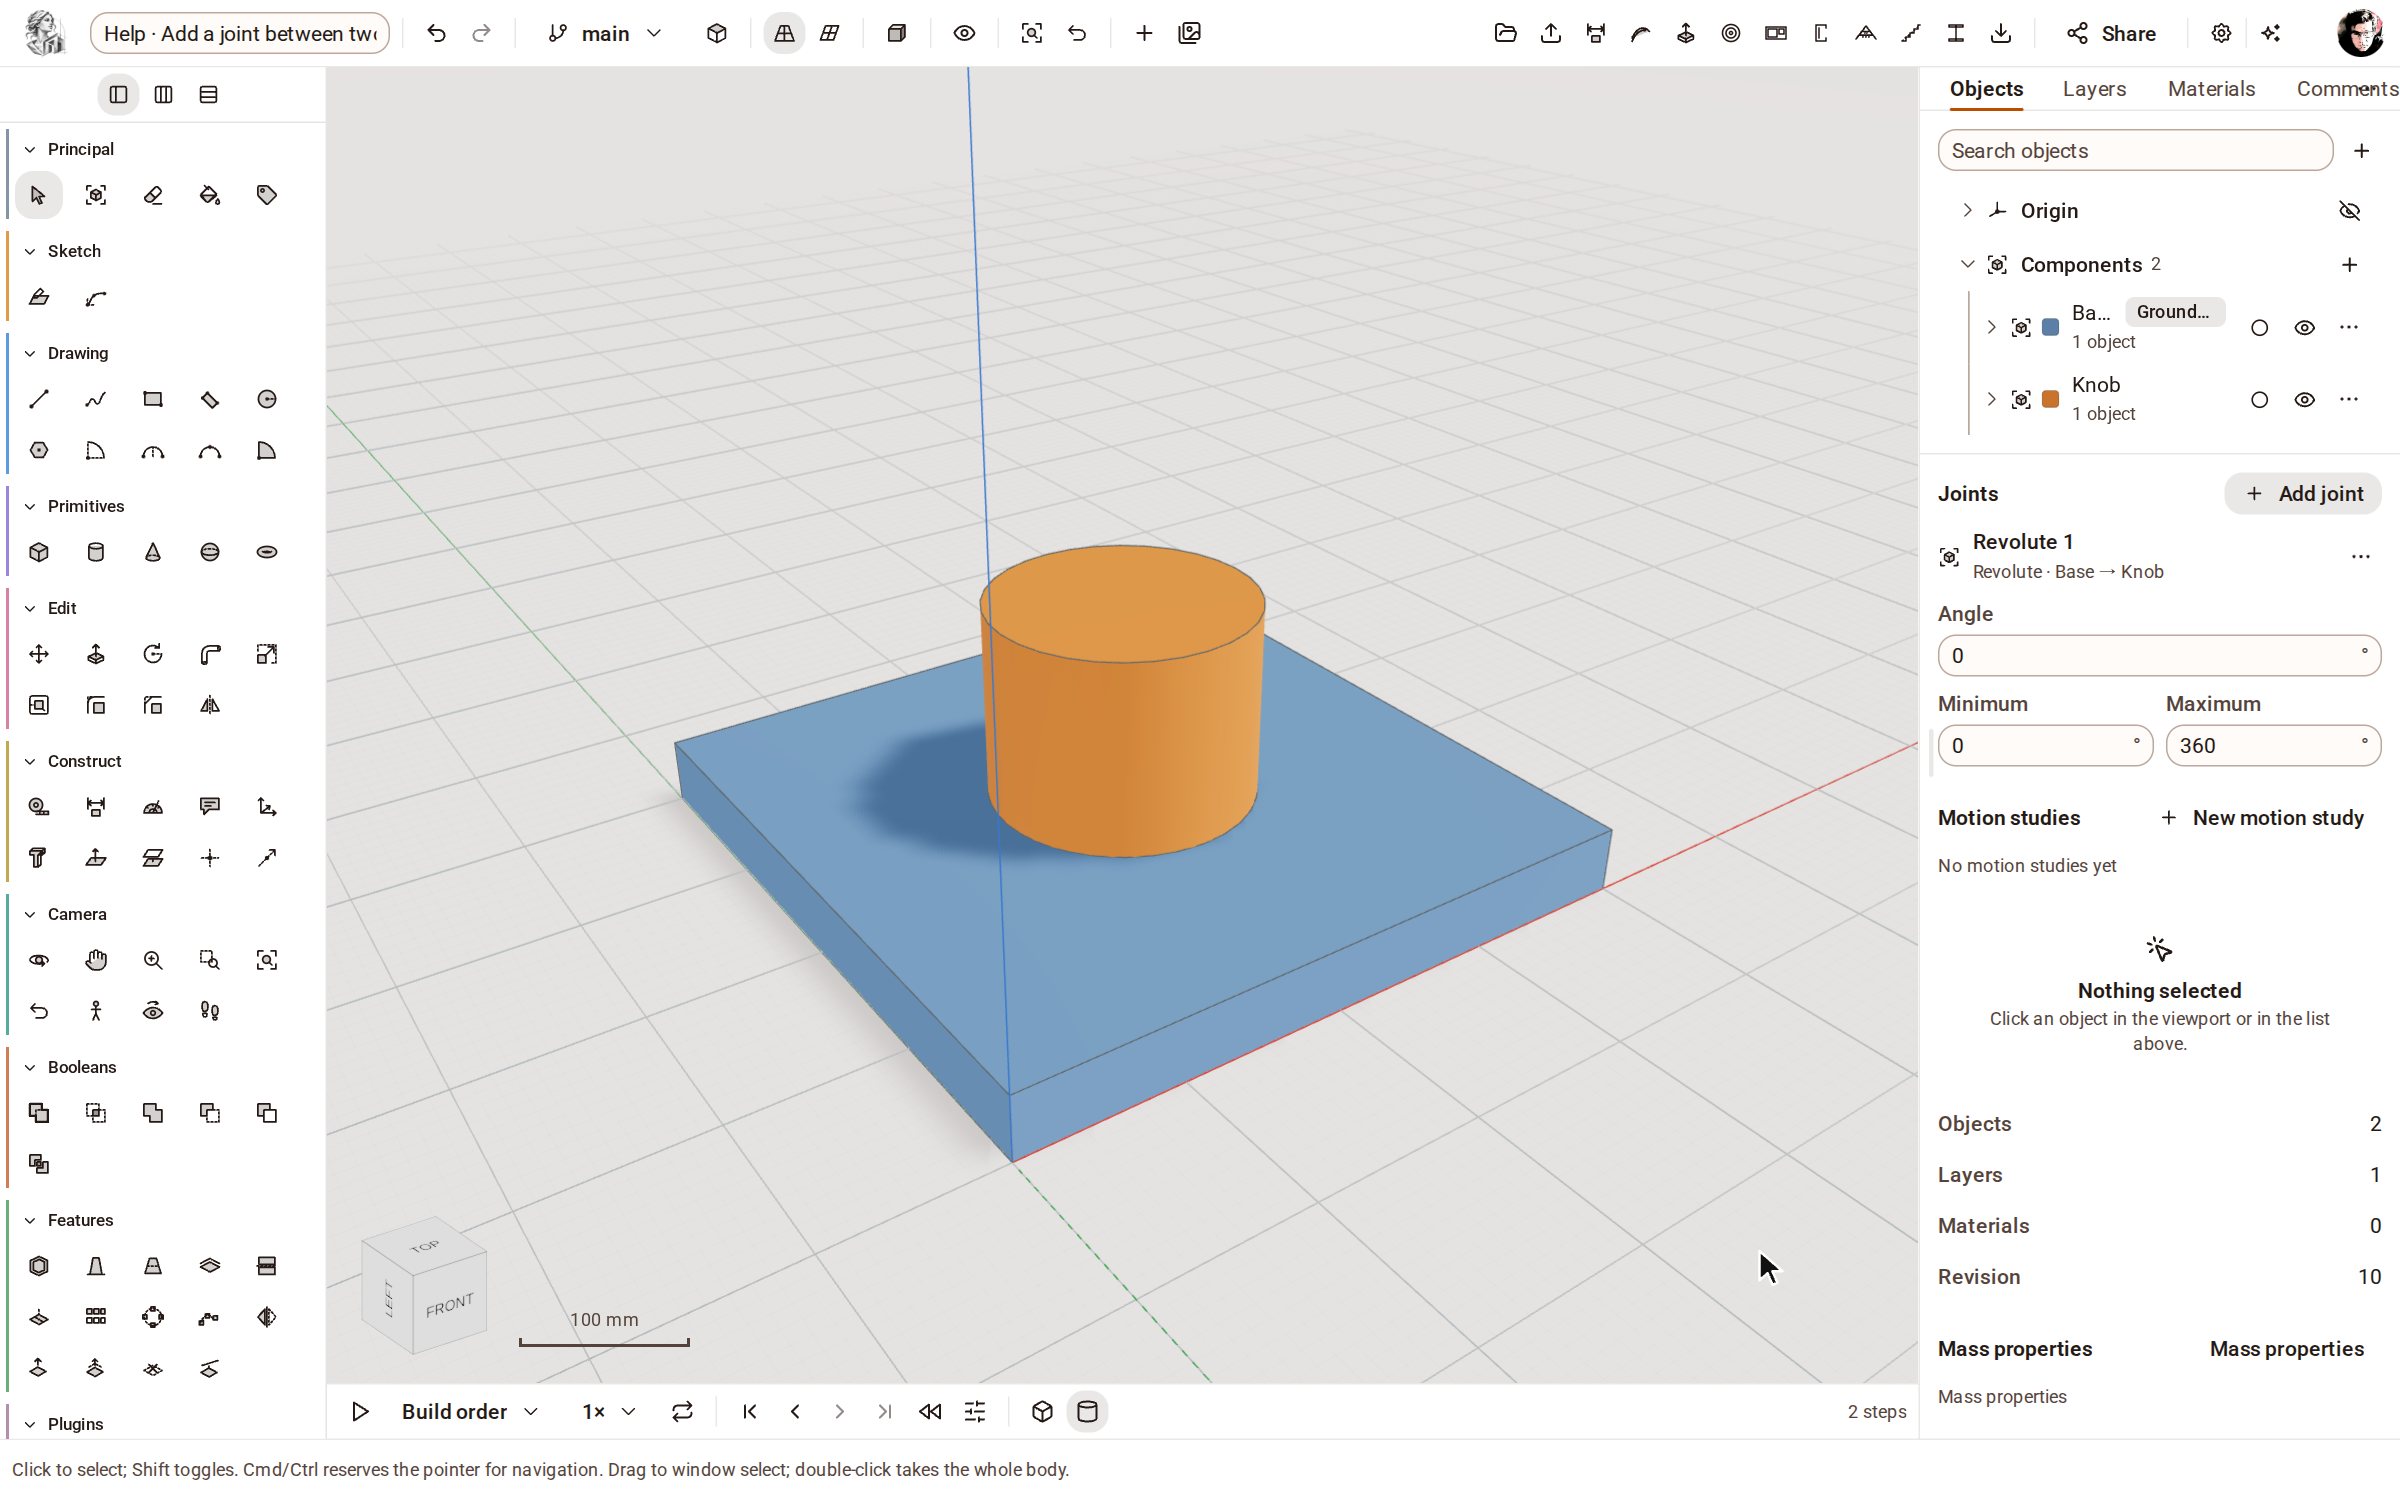
Click Create joint. The knob is brought onto the centre of the plate, and the joint is listed under Joints with its Angle and limits, ready to be driven.
Good to know
- Pick two parts in the browser before Add joint to start from each one's centre.
- Leave As built ticked to join the parts where they already stand, instead of bringing the origins together.
- Each end has an Offset and a Flip; click an end's button in the panel to pick it again. Esc cancels.
- A grounded part never moves when the joints solve.
Recorded in Kozorosa by the help recorder.