
Help centreModules
Place timber beams and columns from the catalogue
The Timber group's Column and Beam tools draw elements with real products from your market's catalogue — solid, KVH, Duo/Trio, glulam, LVL — so every element knows its section, grade and length for the lists. Here they frame a 3.6 × 2.8 m pergola: four posts, two glulam beams and five joists.
-
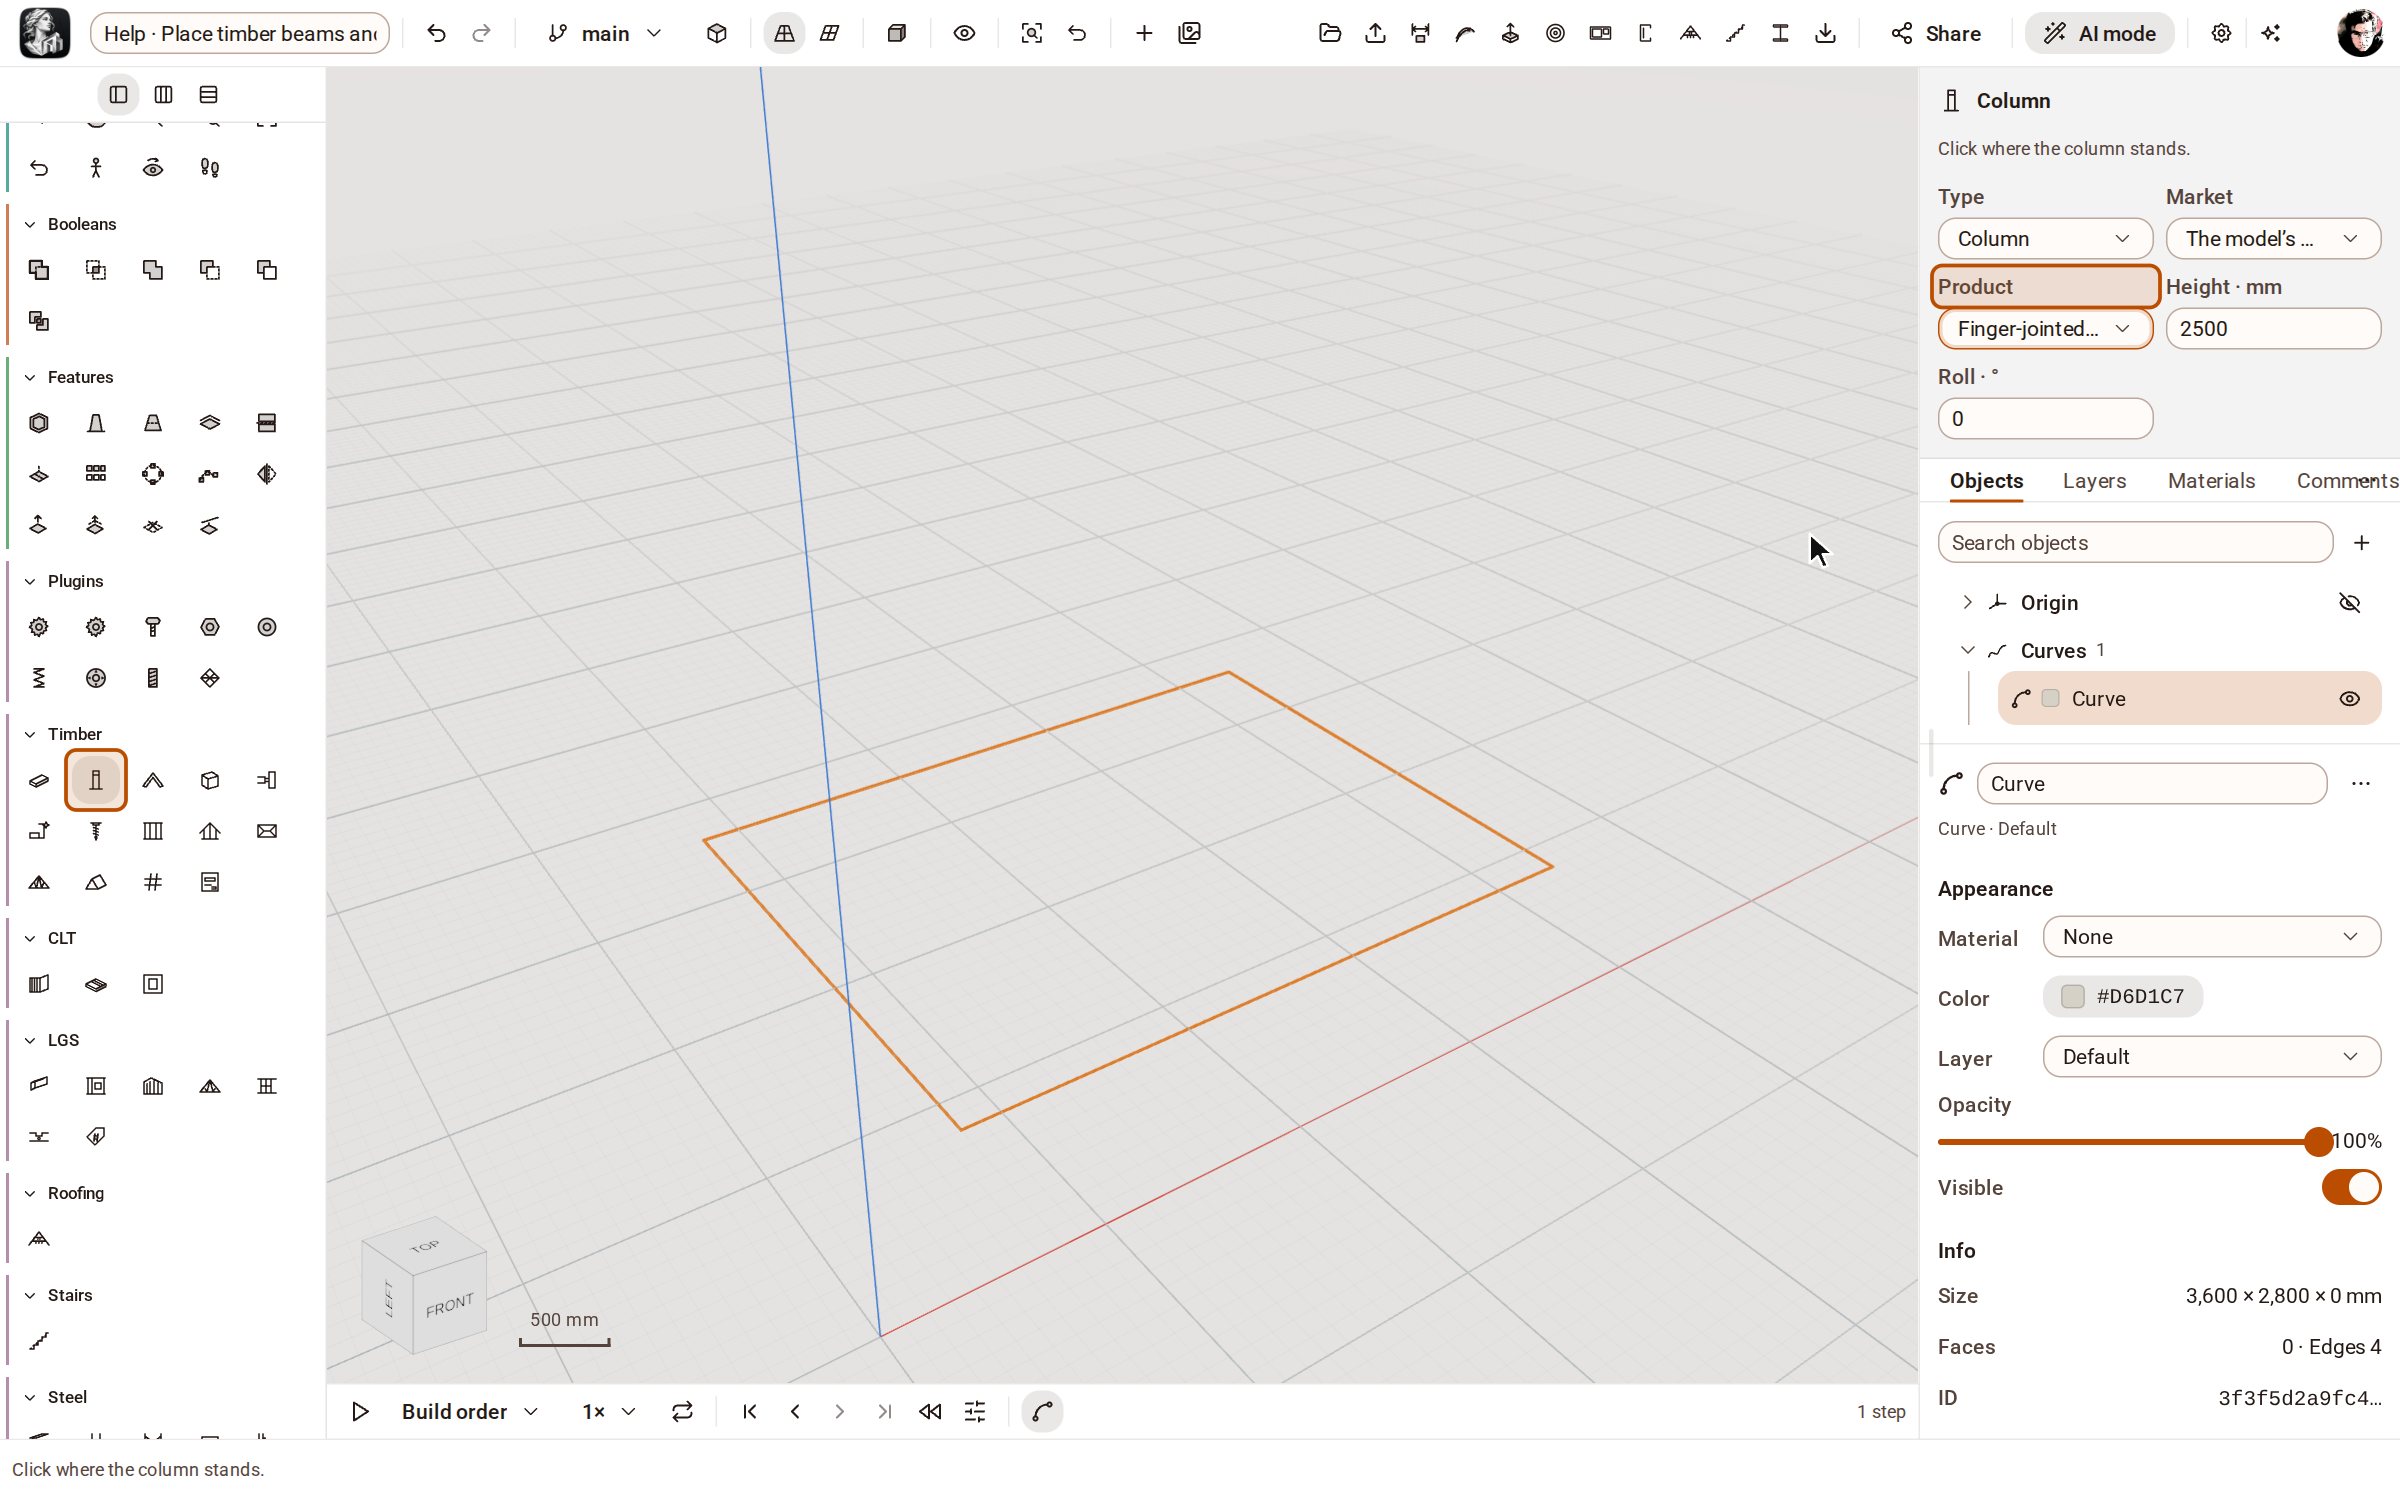
Start from the set-out: a rectangle sketched on the ground through the post centres, 3600 × 2800. Open the Timber group on the rail and pick Column. In the tray, choose a Product — here a KVH post, 140×140 — and leave Height at 2500.
-
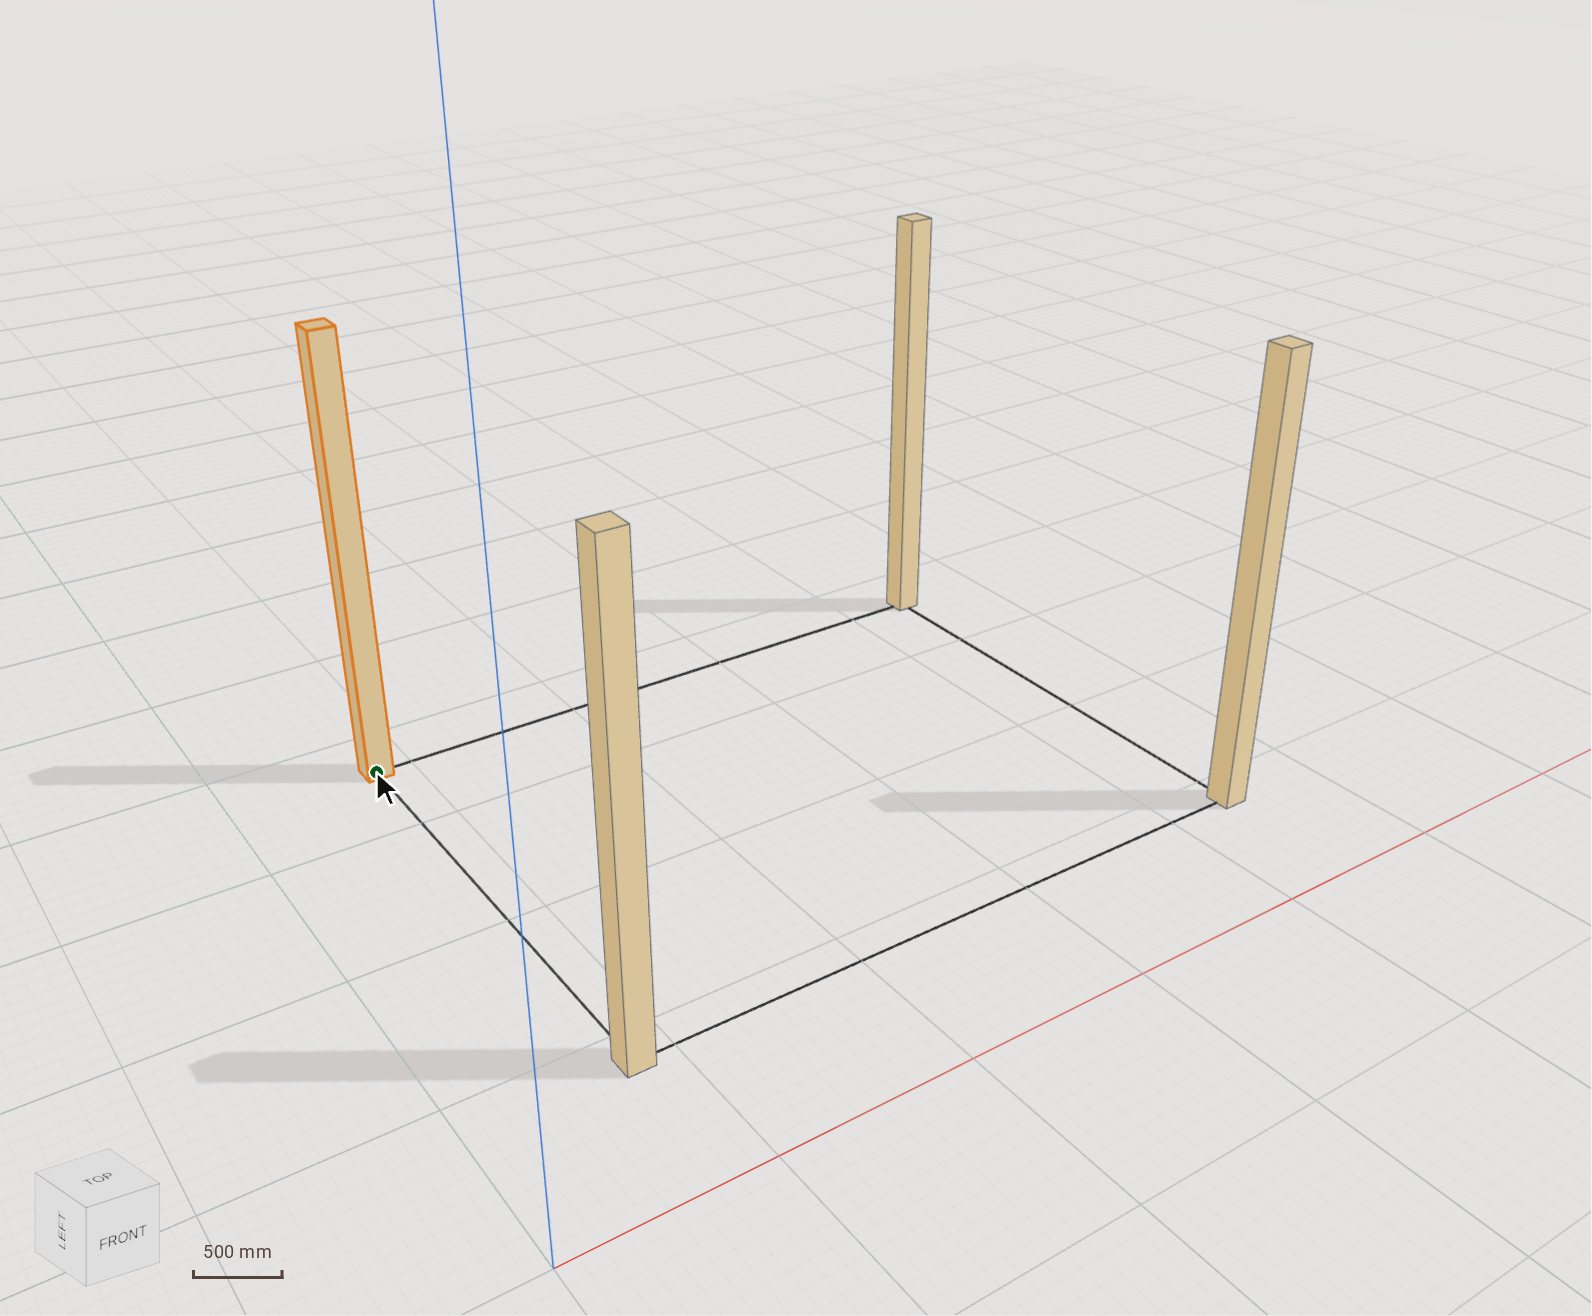
Click the four corners of the set-out. Each click stands a post there, centred on the corner and as tall as the tray's Height.
-
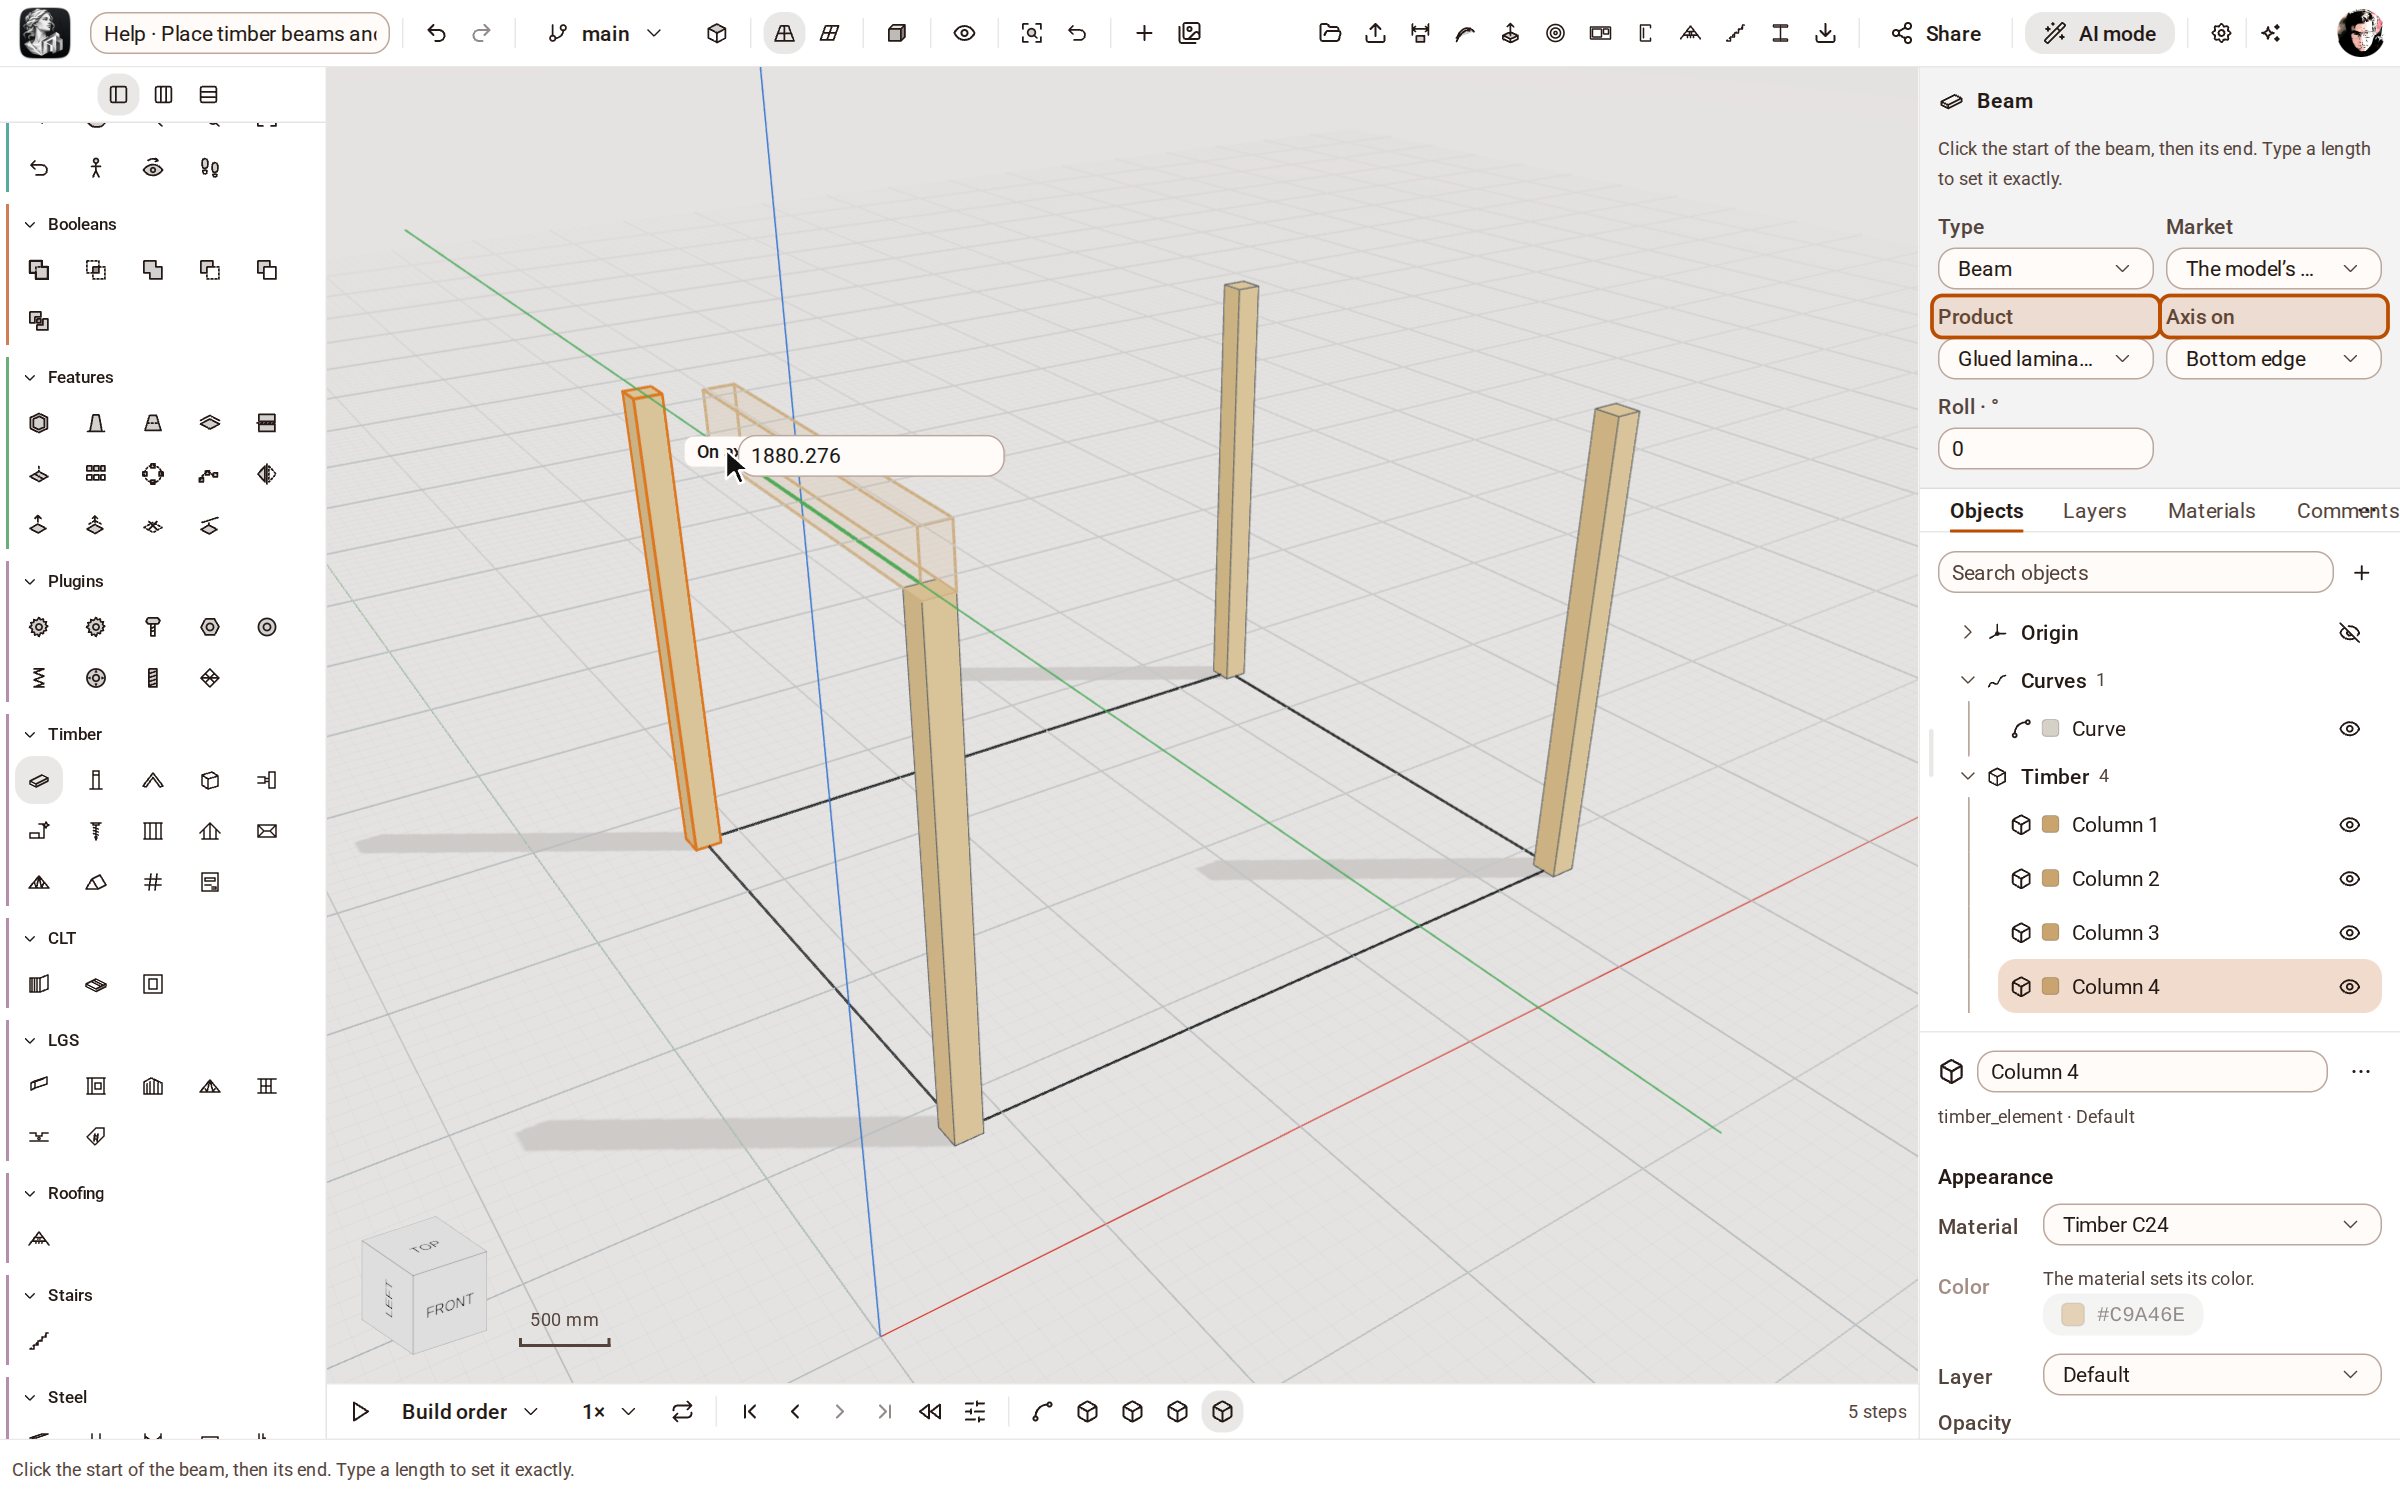
Pick Beam. Choose a glulam Product, 140×280, and set Axis on to Bottom edge so the beam sits on what you click. Click the midpoint of the front-left post's front top edge, then move towards the back post: the beam follows the pointer, held on the axis.
-
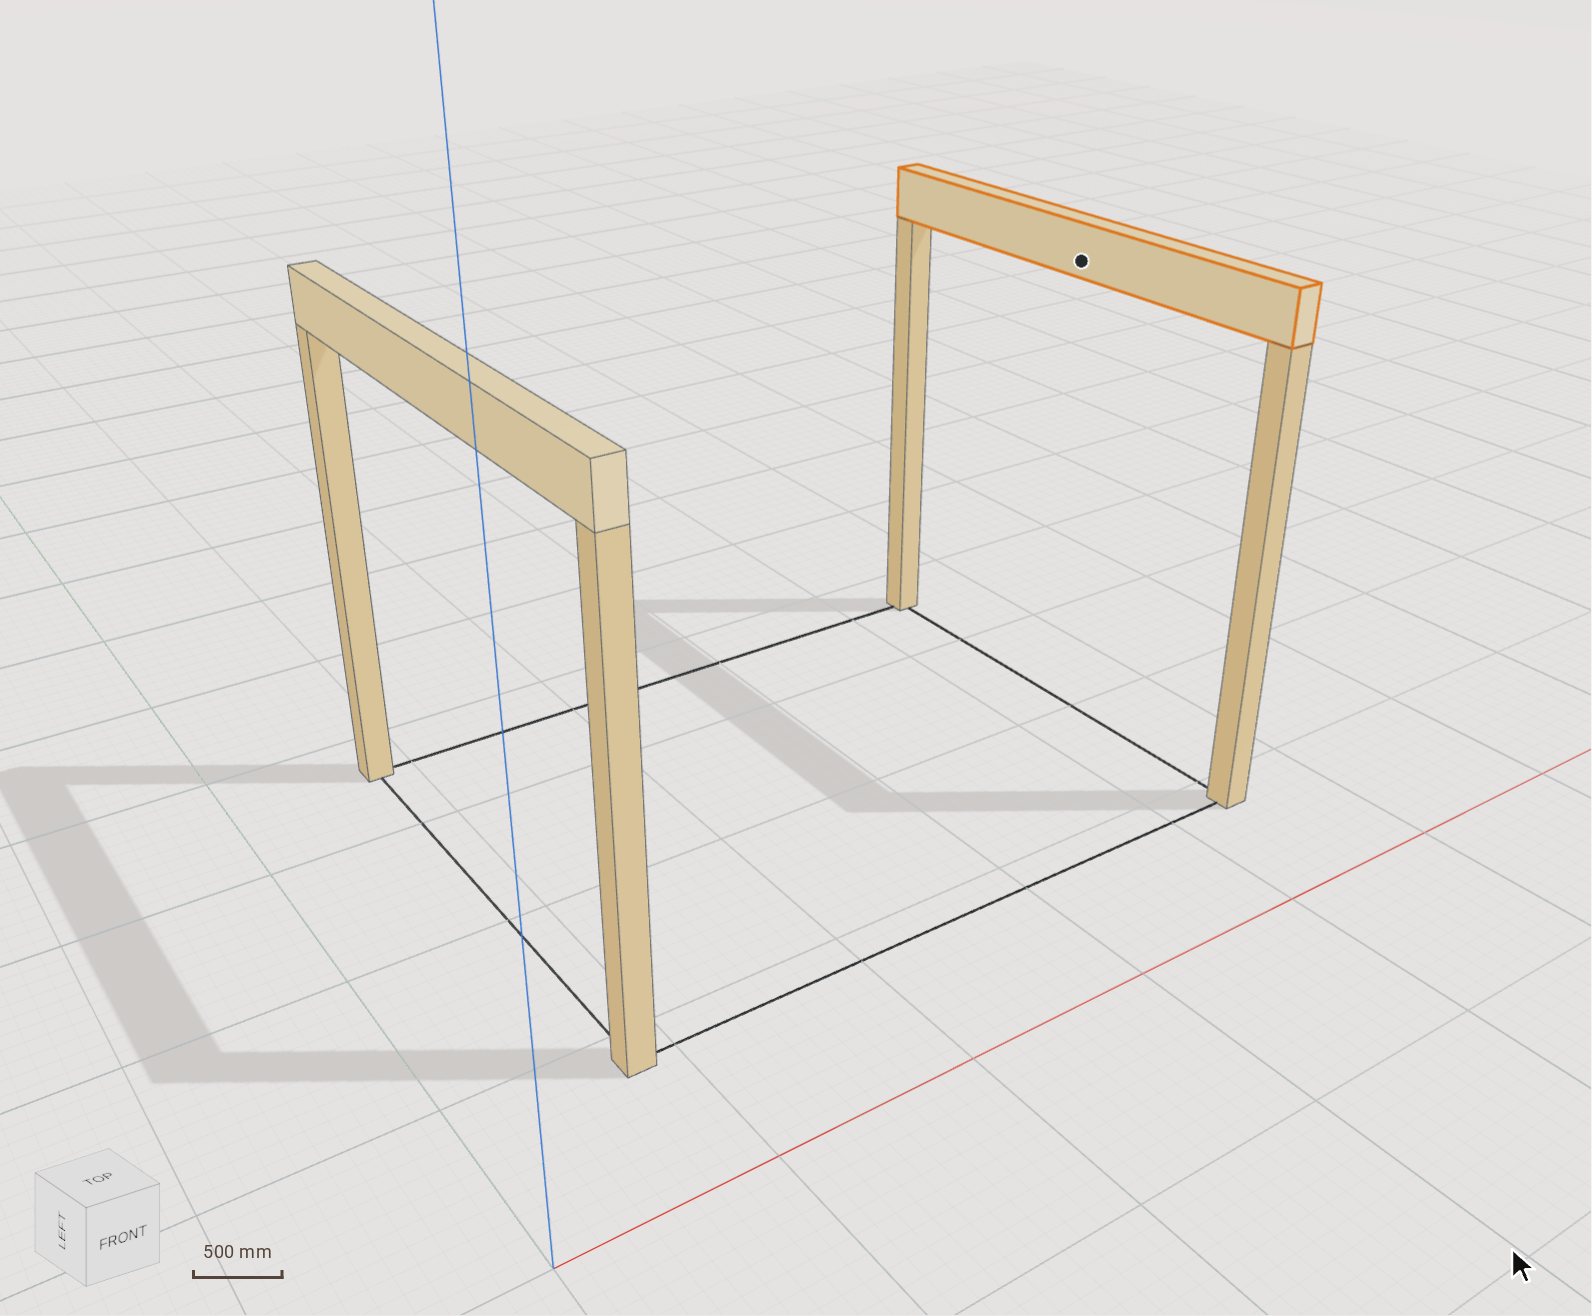
Type 2940 and press Enter: the beam runs from the front face of the front post to the back face of the back one. Draw the right-hand beam the same way.
-
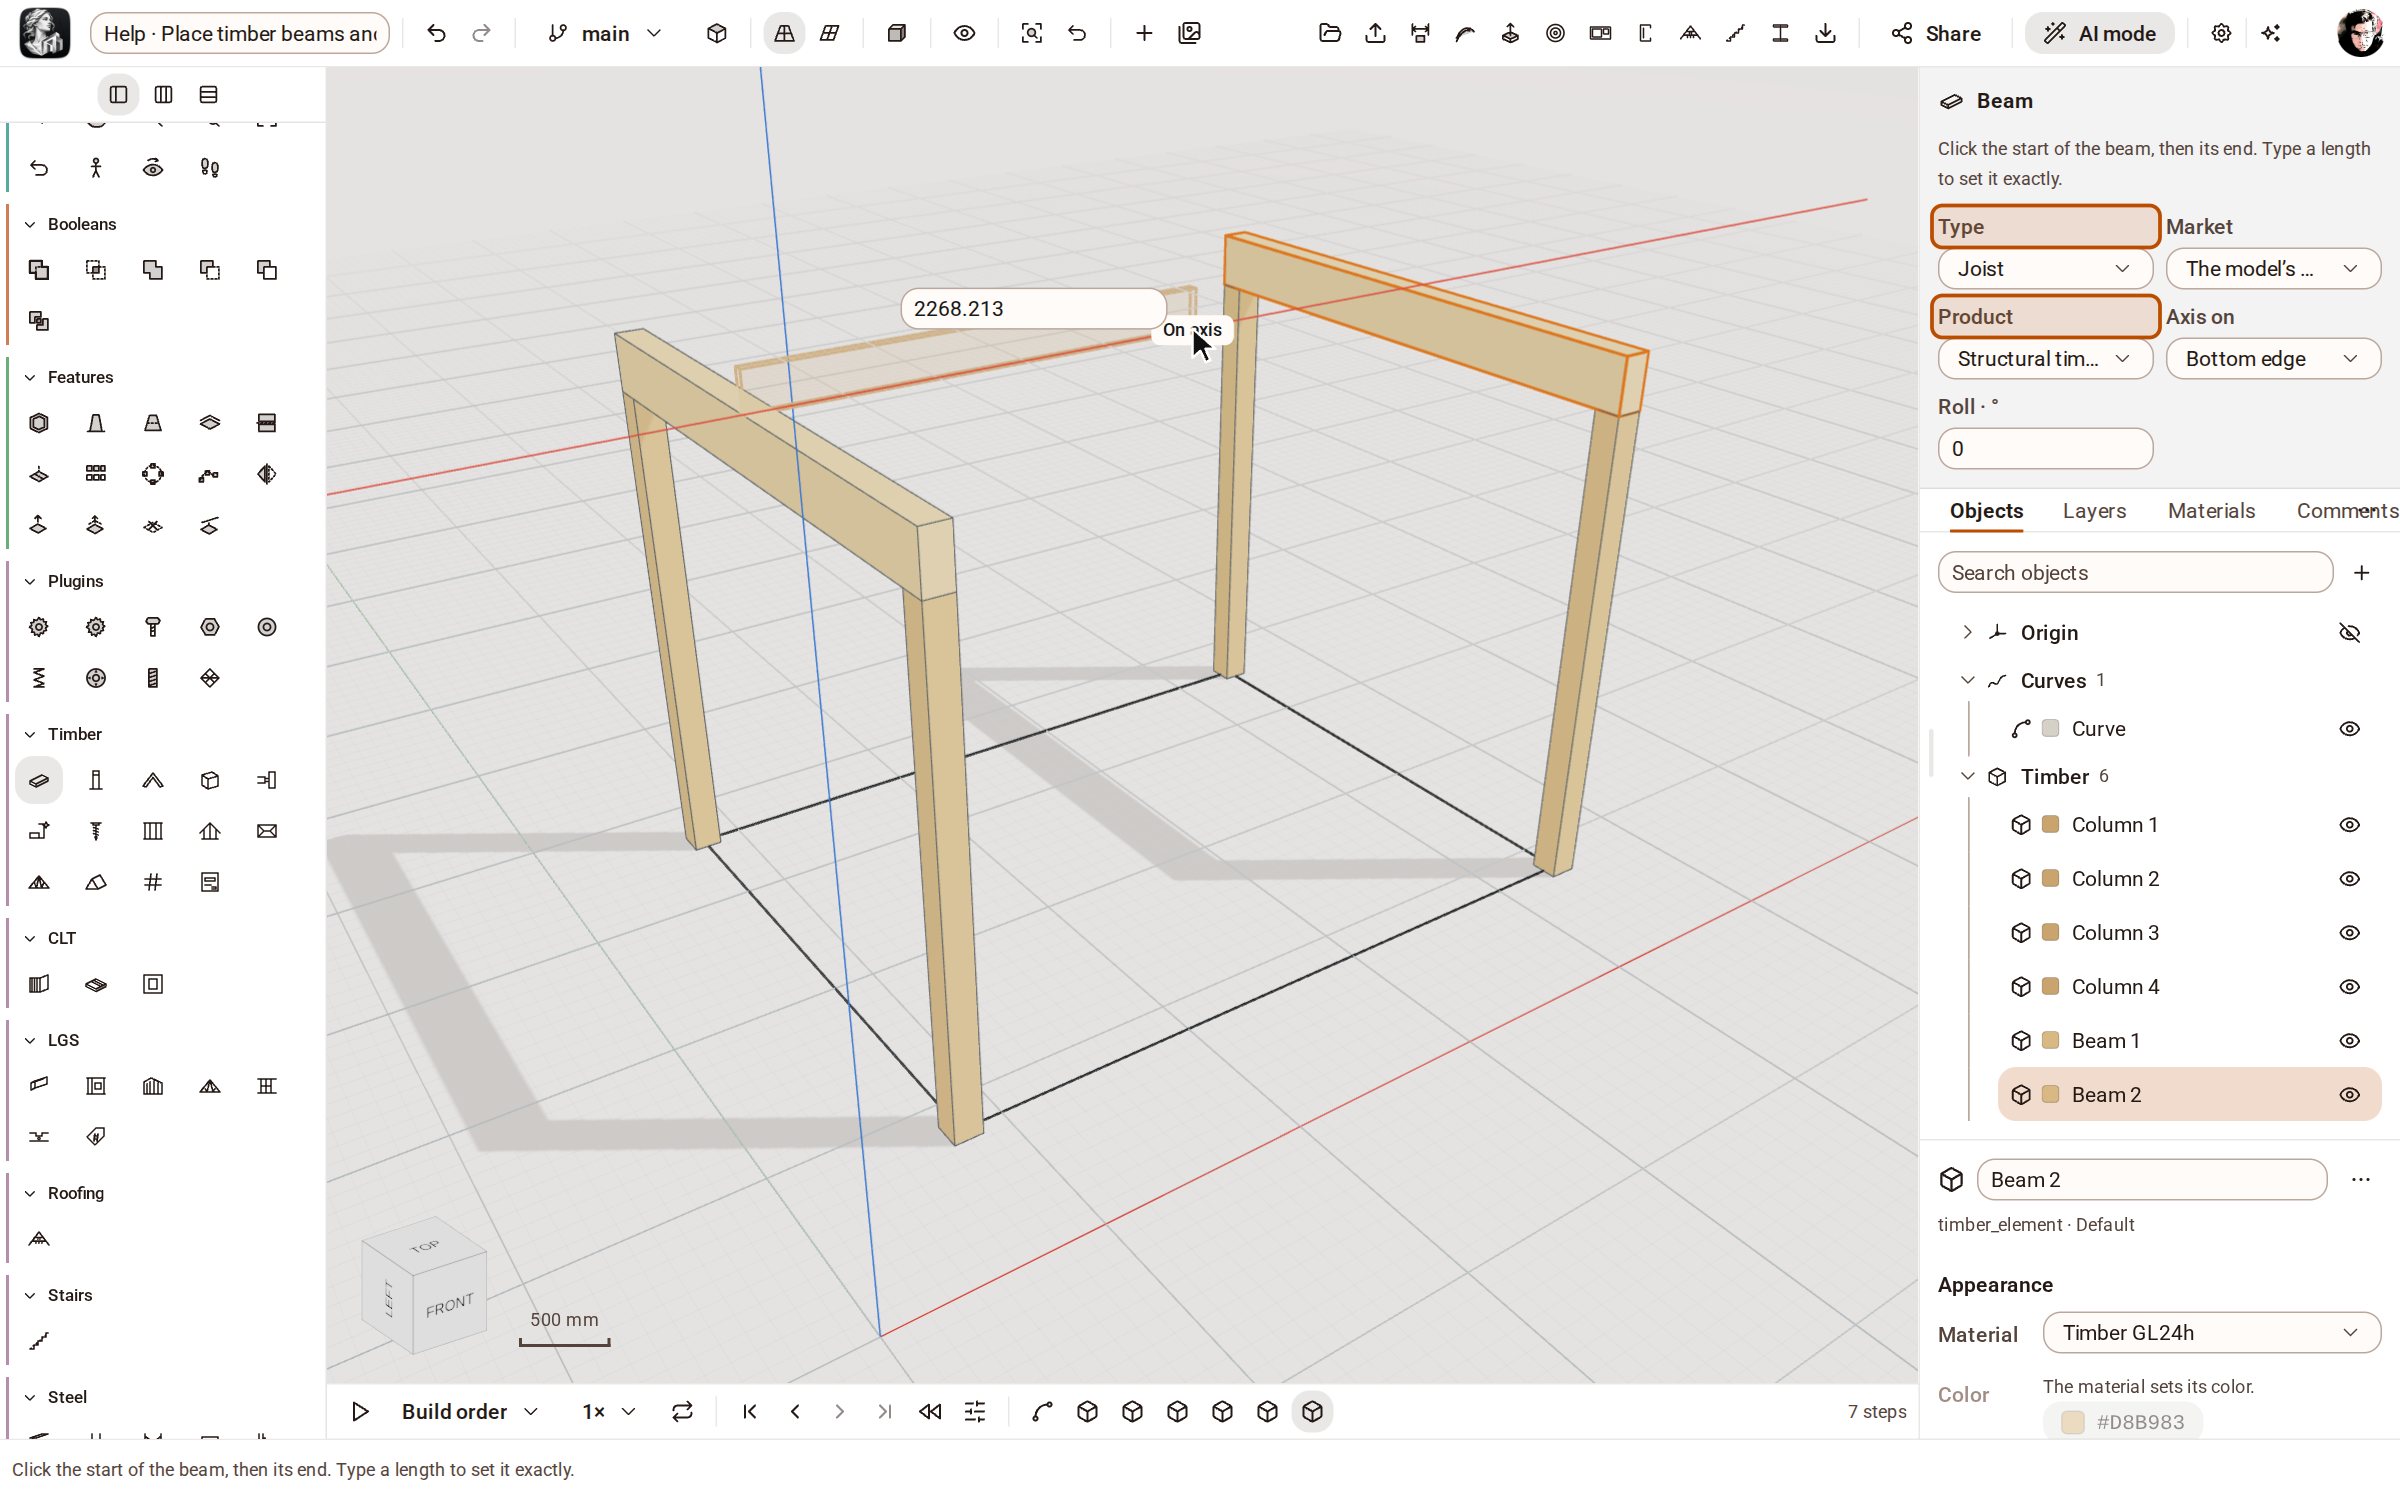
Now the joists across the beams. Still in Beam, set Type to Joist and choose a planed C24 joist, 45×195. Click the midpoint of the left beam's outer top edge and move across to the right beam.
-
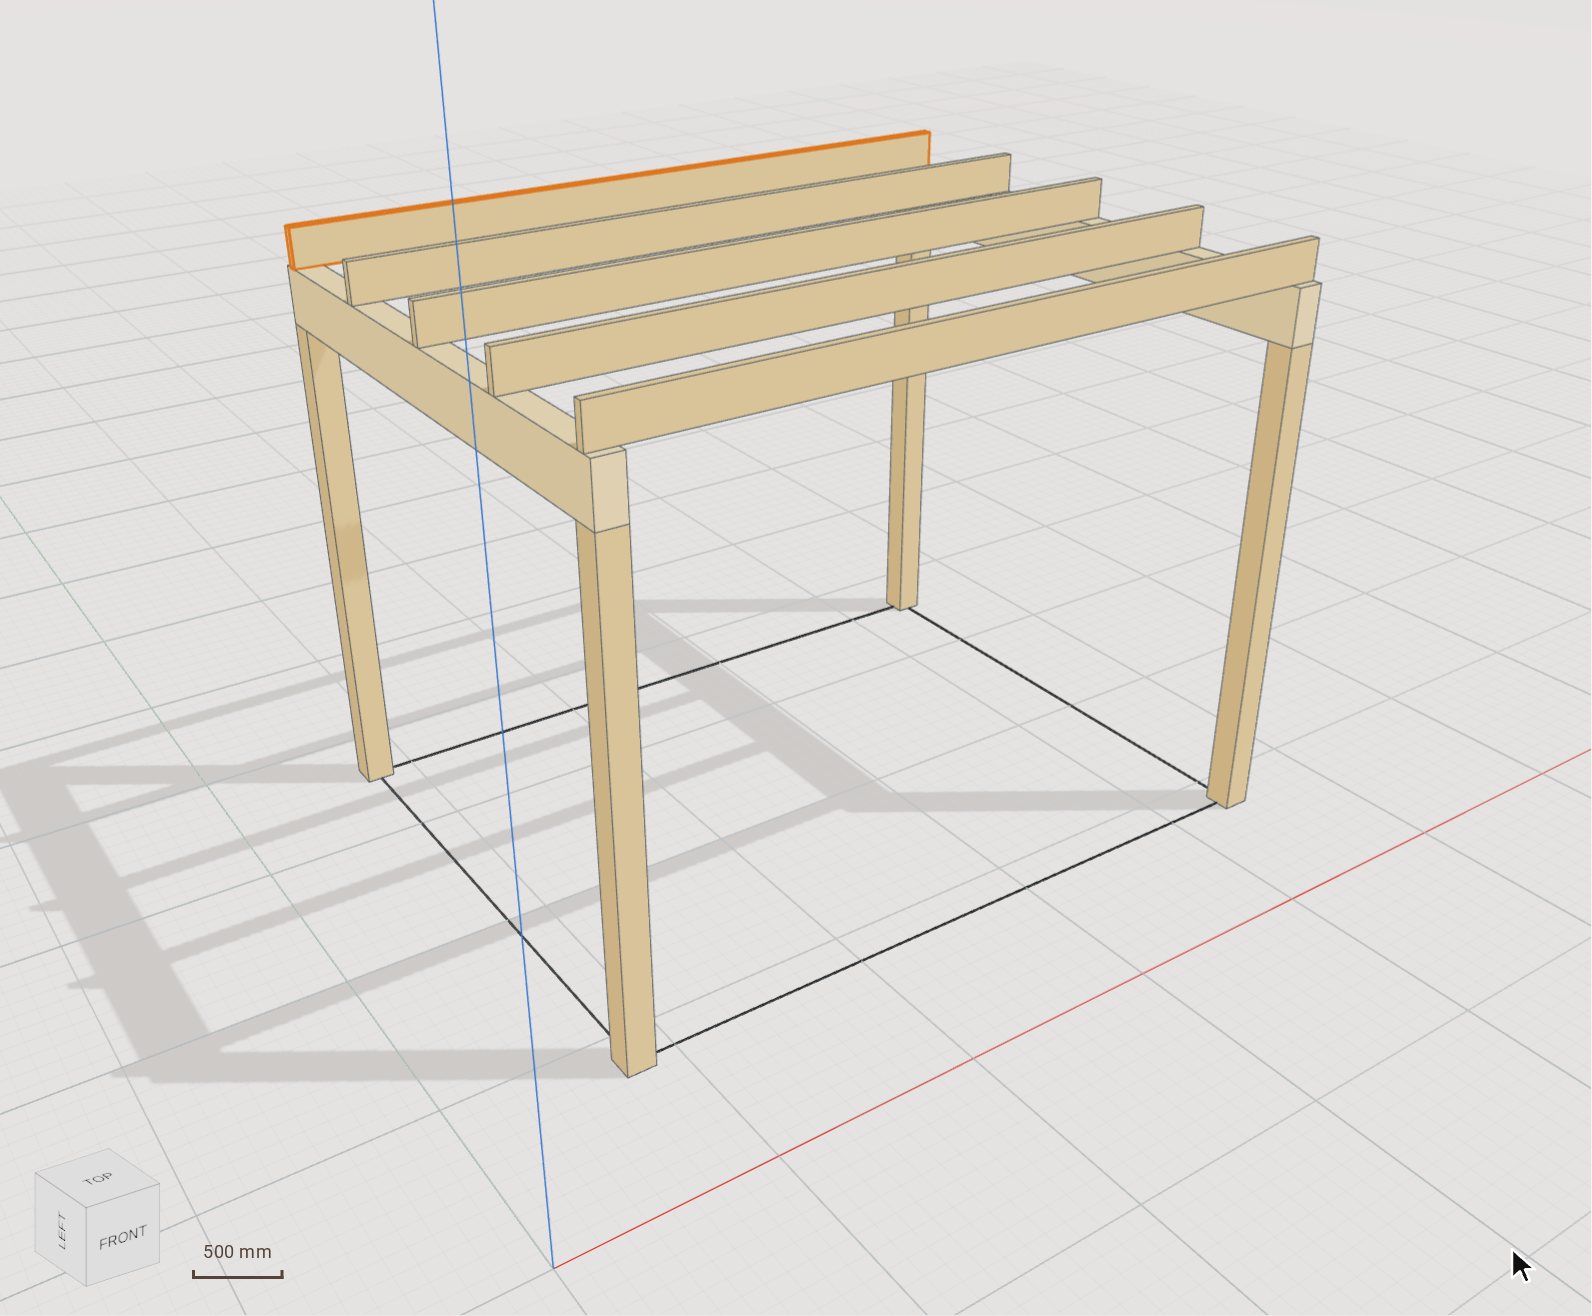
Click the midpoint of the right beam's outer top edge. Draw the other joists the same way, on 700 mm centres — five in all, the outer two over the posts.
-
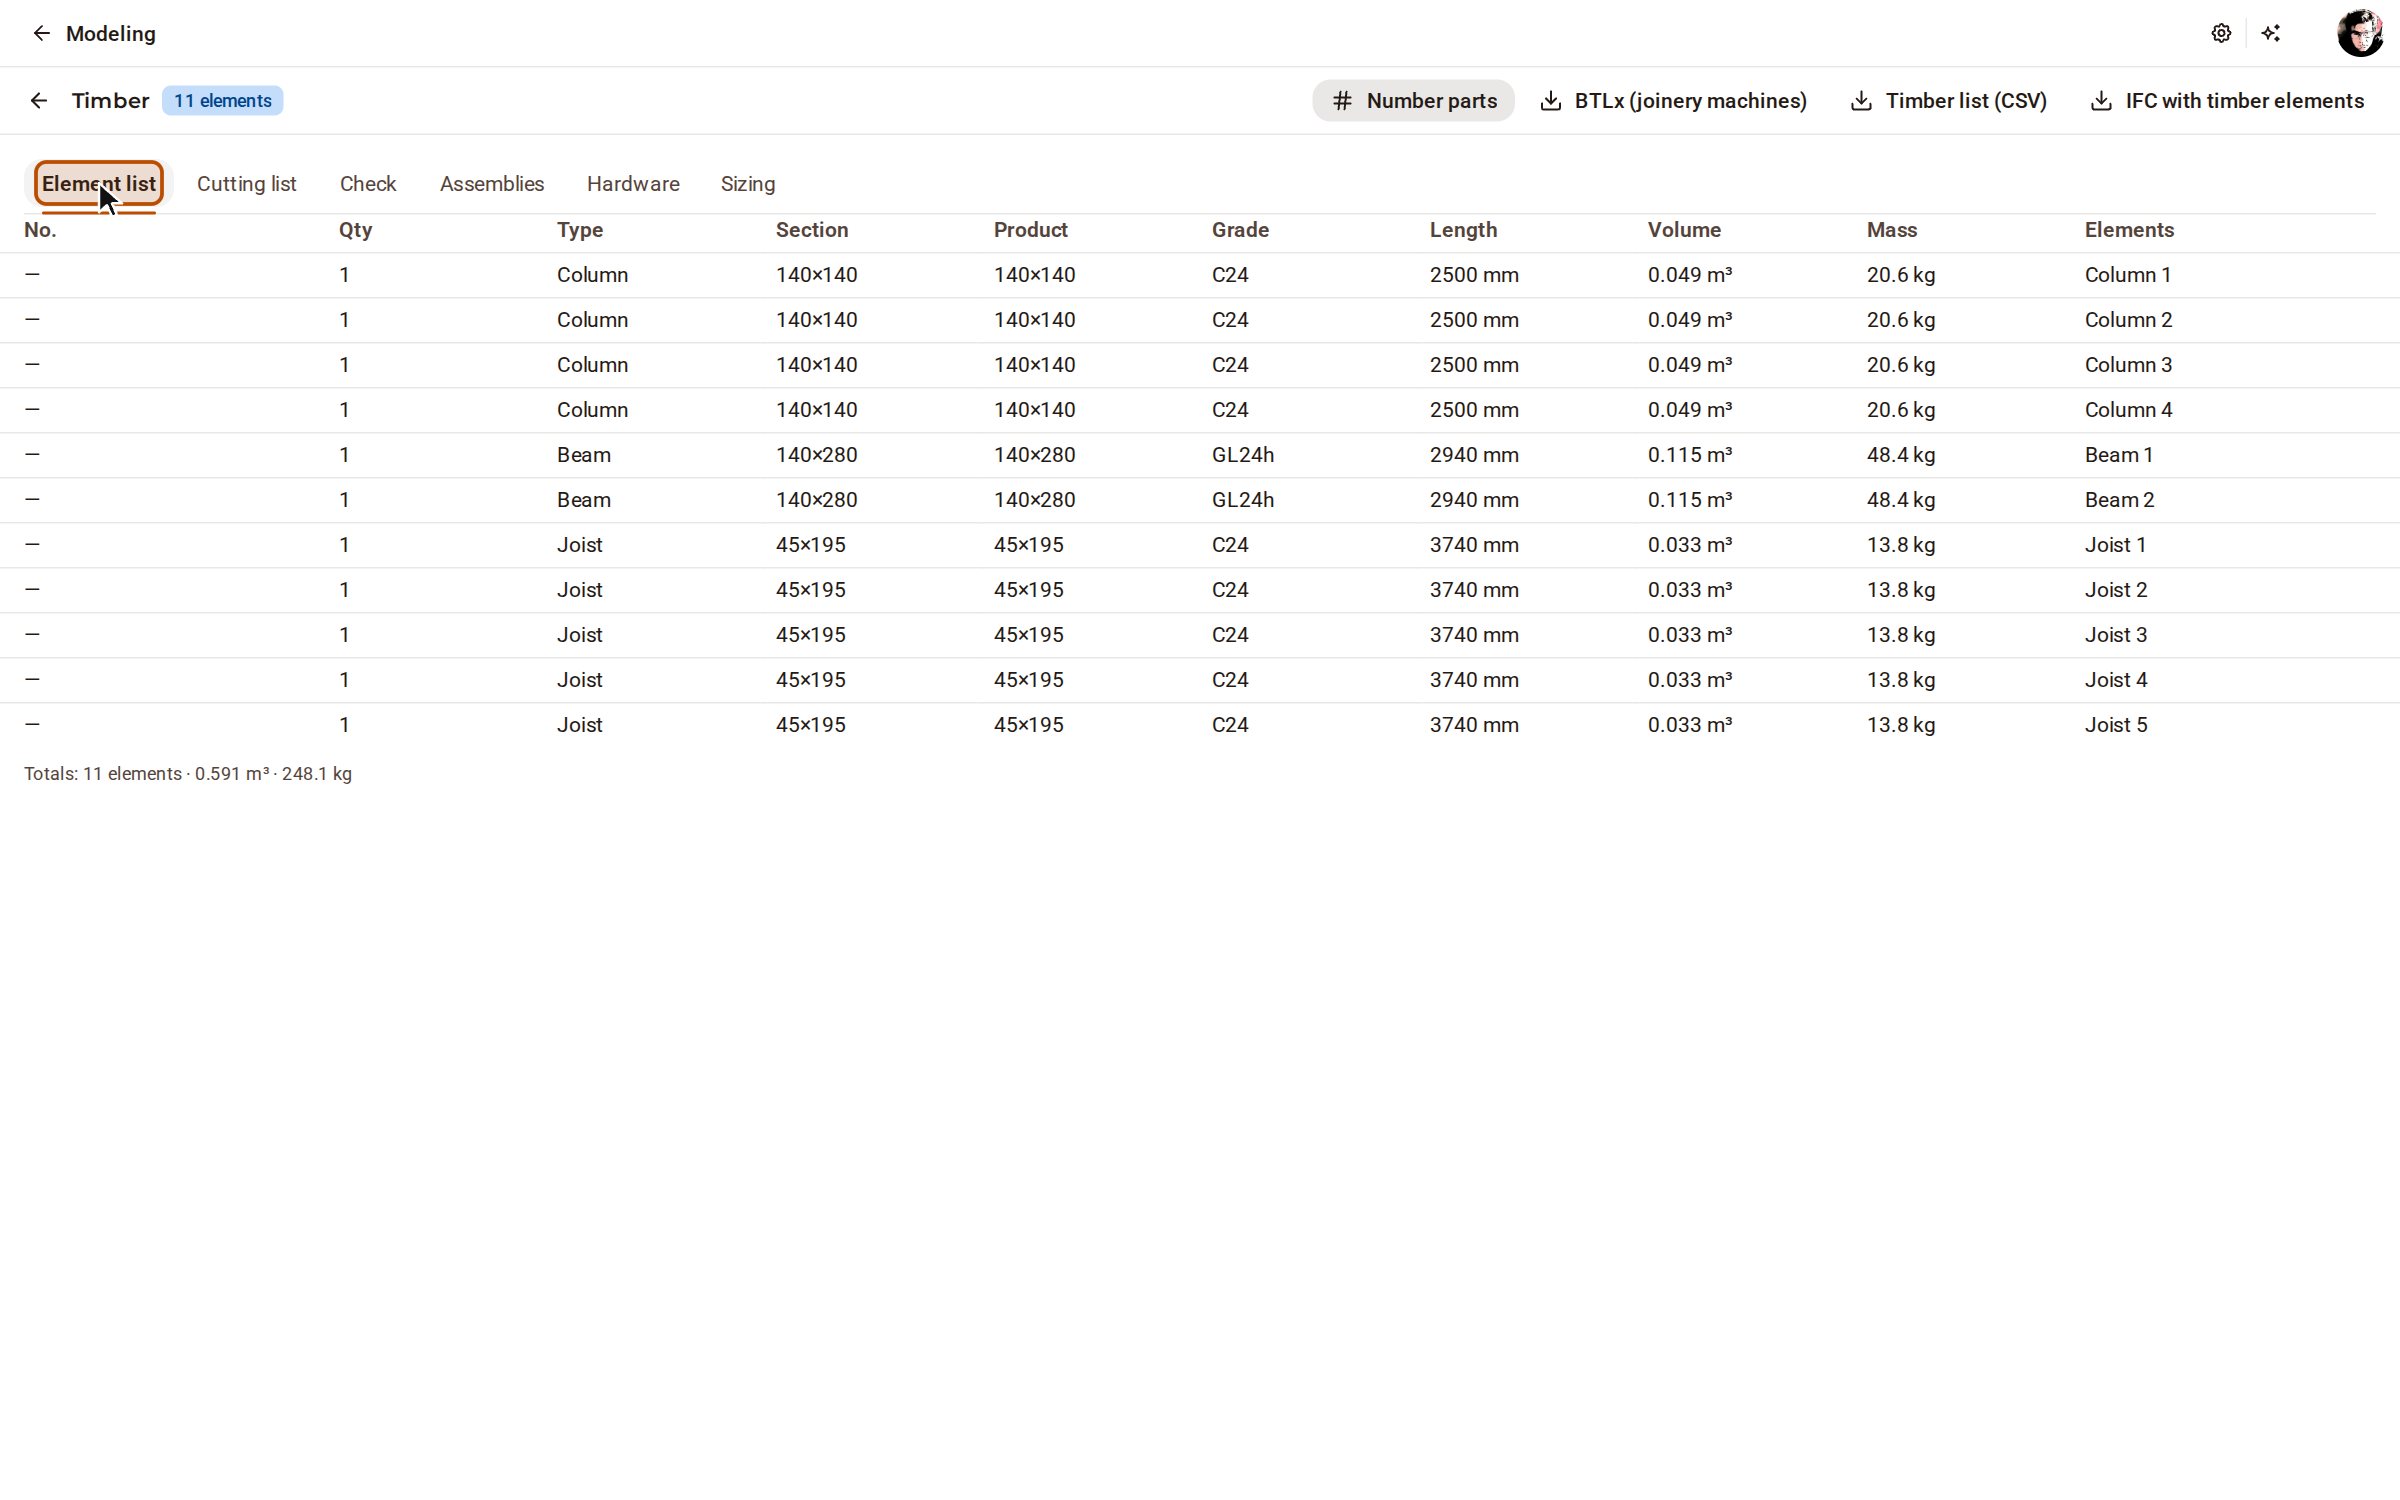
Open Timber lists on the top bar. The Element list gives every piece with its product, section, grade, length, volume and mass — four posts, two beams, five joists.
Good to know
- Type a length after the first click to set the beam's length exactly — to let a beam run past its posts, for instance.
- The tray's Market list draws from another market's catalogue for this element; The model's market follows the timber settings.
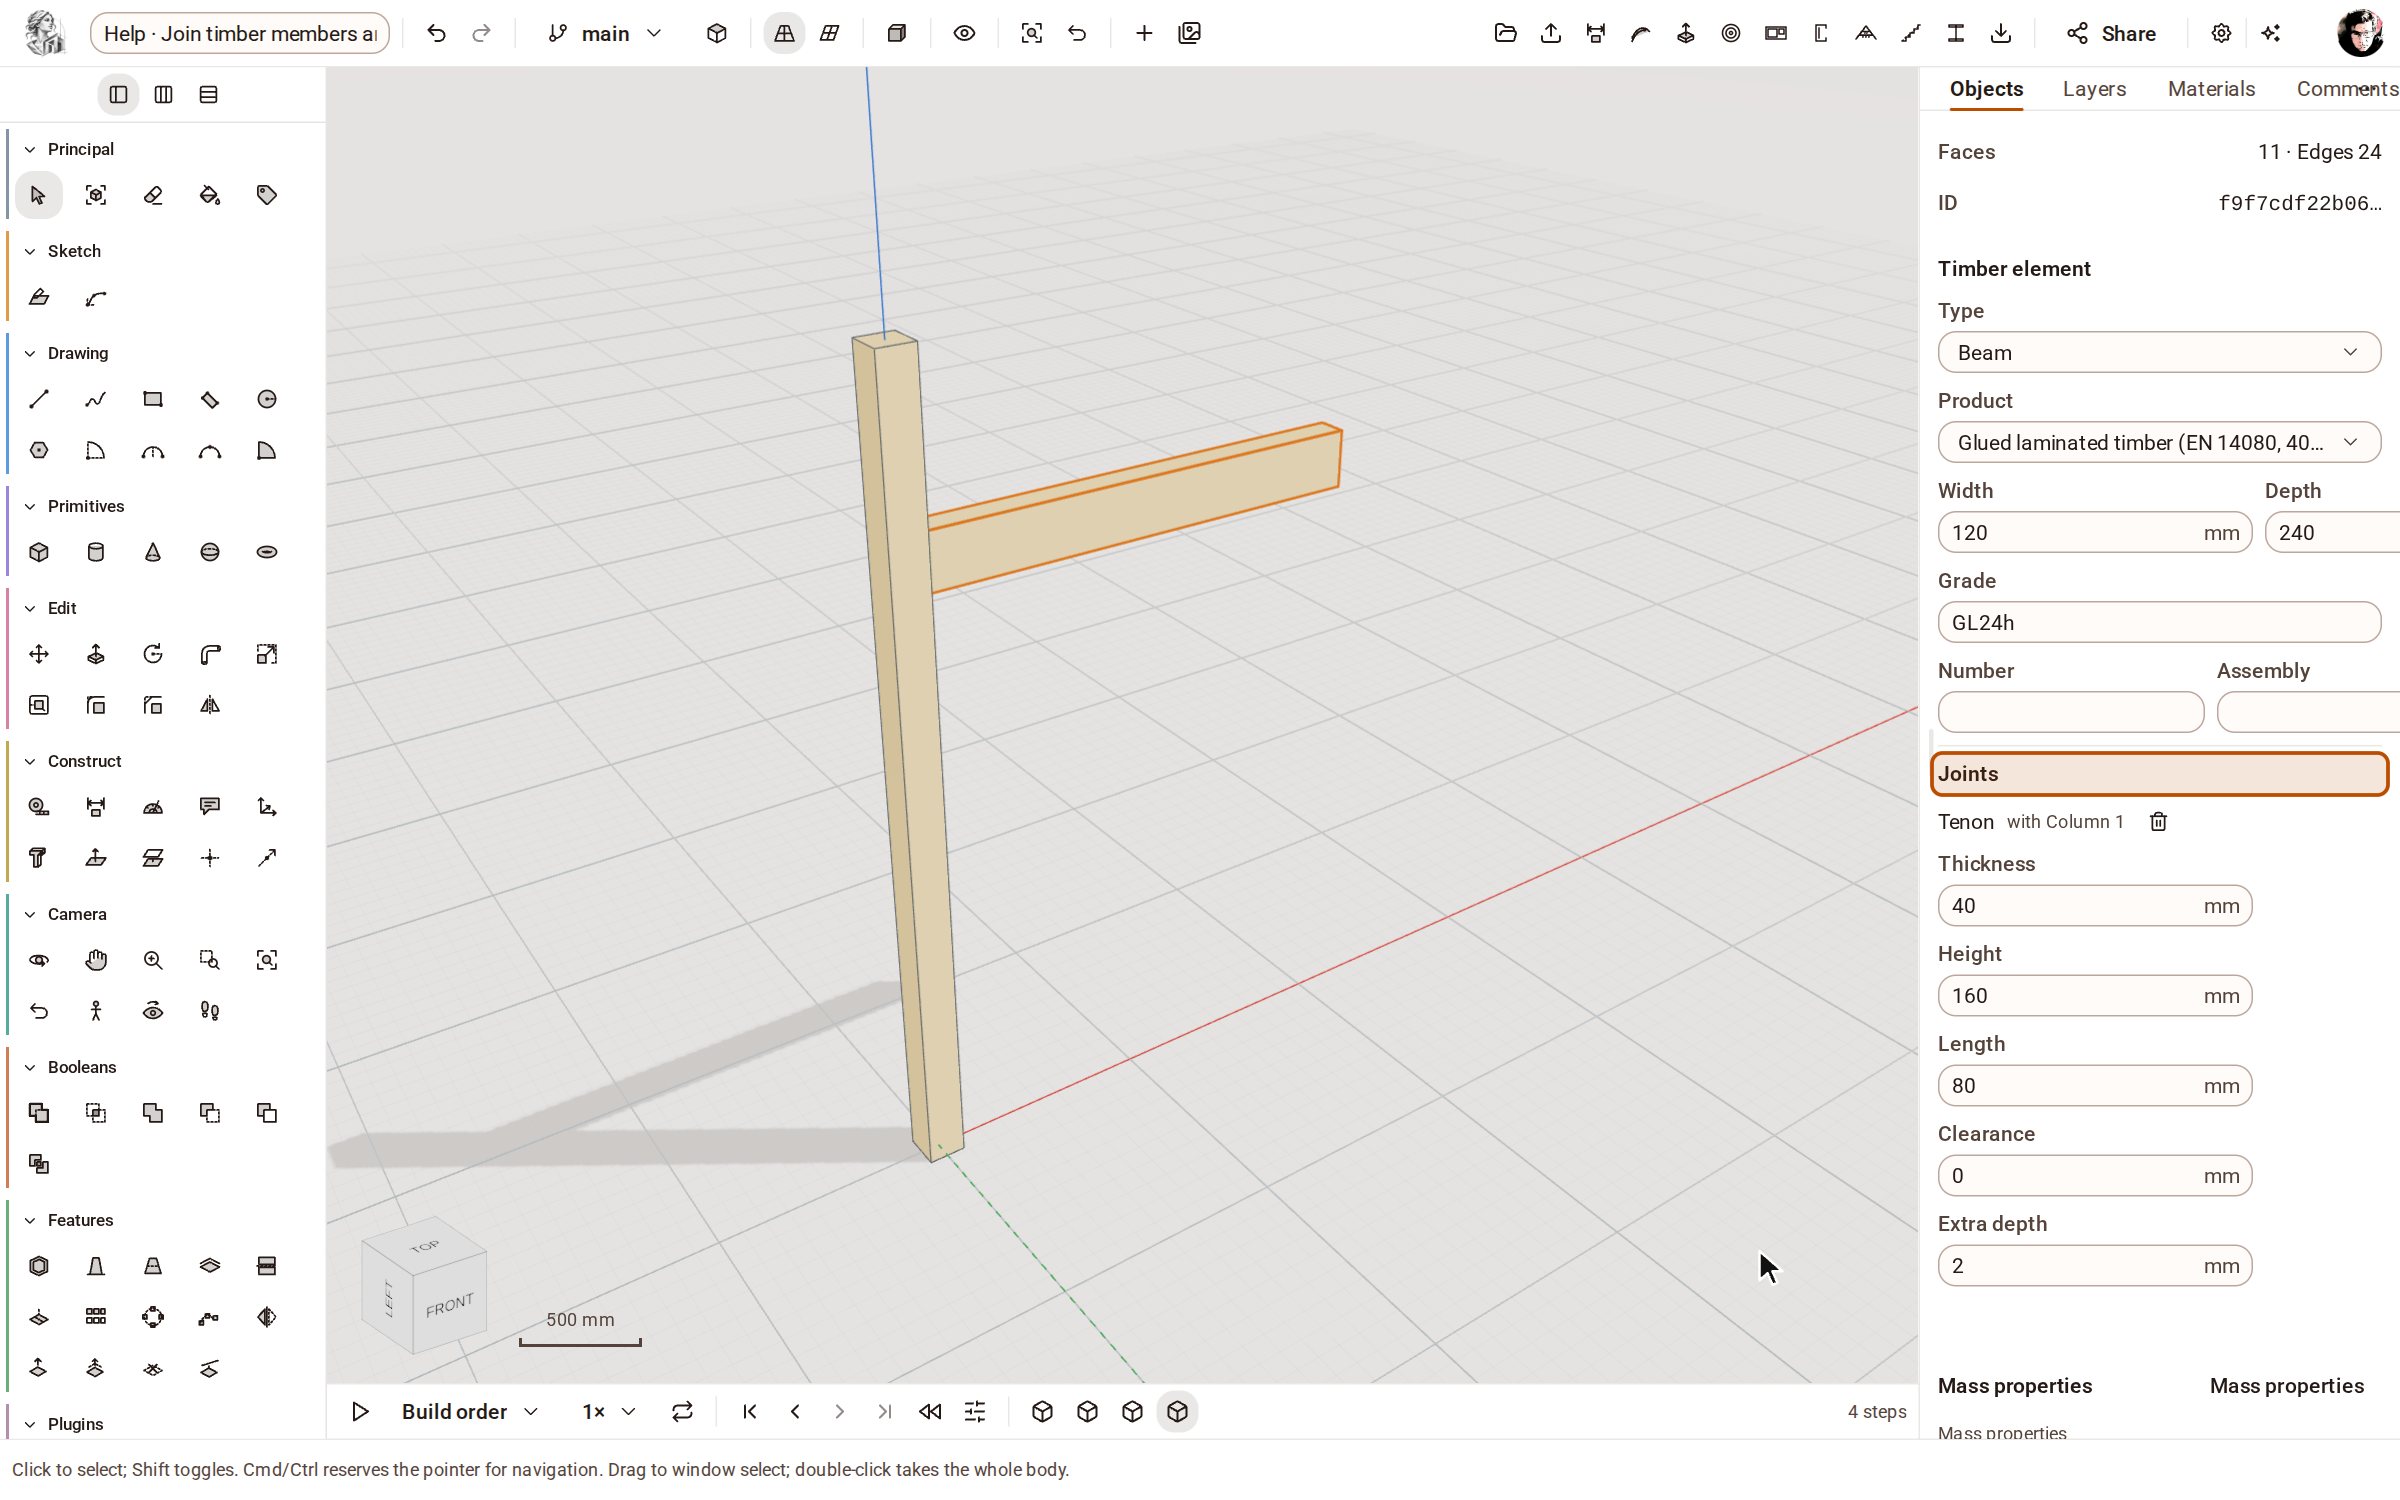
- Choose Own section in Product to type any Width and Depth instead.
- Roll turns the section about the element's axis.
Recorded in Kozorosa by the help recorder, which checked that the result is in the model.